


Welcome to the first installment of Little Blooms: a Mini Snap Purse!
I’m going to kick off the stitch-along for this project by sharing the pattern and embroidery design with you, talking a little bit about materials and possible substitutions, and telling you how I set up the project to prepare it for stitching.
For members of the Needle ‘n Thread community over on Patreon, you’ll find Part 1 available as a downloadable PDF over on Patreon already – it was posted yesterday. For members at the $3+ level, I’ll be posting a supplementary video for you this weekend!
Let’s jump right in!
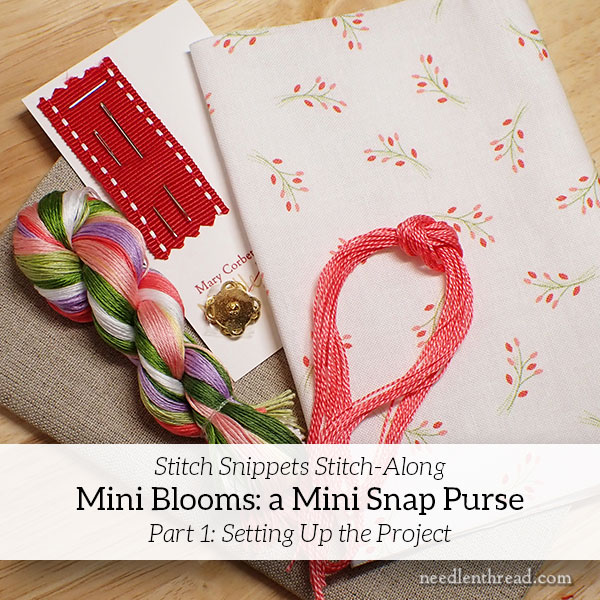
The mini snap purse we’re going to make in this stitch-along is mini. It’s finished dimensions are approximately 3.5″ (or 3 5/8″) wide x approximately 3″ high.
Materials
If you ordered the Mini Blooms materials kit, you have the supplies needed to work the project. We have a few in stock right now, but they will likely sell out today. We’ll restock again as soon as we can.
For the ground fabric, I used a natural colored linen called “Woven Sedge” here in the US. It’s a 45-count natural colored linen with a close weave, by Graziano. It’s close, full weave makes it suitable for surface work. You can substitute any light or medium-light weight linen, or you can substitute cotton, or a linen-cotton blend for the ground fabric. You’ll need a piece that’s about 8″ x 12″.
You do not need any kind of backing fabric behind the linen.
For the lining fabric (the decorative fabric inside the pouch), I used a quilting cotton in a coordinating color scheme, cut at 5″ x 9″. Specifically, the fabric is from the “Beautiful Day” collection by Corey Yoder for Moda, and the fabric is Sprigs – Multi. If you’re not working from the kit, pick a coordinating cotton that you like!
The thread is DMC’s cotton floche. We’ll go over the colors when we start stitching next week. Floche is numbered with the same color numbering as DMC stranded cotton floss, so you can substitute regular stranded cotton for the floche. You’ll need to use two strands of stranded cotton (from the six) for approximately the same weight as the floche. (The floche will be barely finer than two strands of stranded cotton.)
Tools & Extras
Needles: a #7 embroidery needle and a #26 tapestry needle work well for the embroidery. You can use a slightly larger needle for the embroidery if you prefer.
Magnetic snap: we’re using a 10mm sew-on magnetic snap for this project. These can be hard to find in small quantities. You can substitute a regular snap, hidden magnetic sew-in snaps, or the closure of your preference.
Hoop or frame: a 5″ embroidery hoop is perfect for this project, if you prefer to use a hoop. If you prefer to use a frame, a stretcher bar frame of 8″ x 11″ will work, or you can use your favorite tension method, whether that’s a slate frame, q-snaps, a scroll frame, and so forth.
You’ll need a small pair of embroidery scissors.
You should also have on hand some all-purpose white sewing thread. (It doesn’t have to be white – it could be a contrasting color to the ground fabric if you want.)
Using some method of organizing your threads will save you frustration as the project progresses! I use thread drops. You can rig your own thread card (I have instructions here) or use a thread keep, baggies, or whatever system you prefer.
We will cover the finishing supplies when we get to that point.
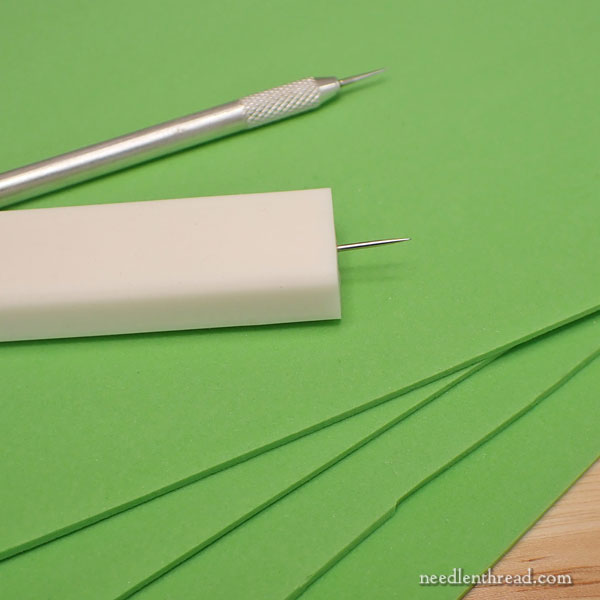
For transferring, I used a paper-piercing tool and foam mat (more on that below), as well as a Micron art pen in size 005 (.20mm) in black. You could also use size 01, and you can also use gray if you have gray.
Pattern and Design Download and Preparation
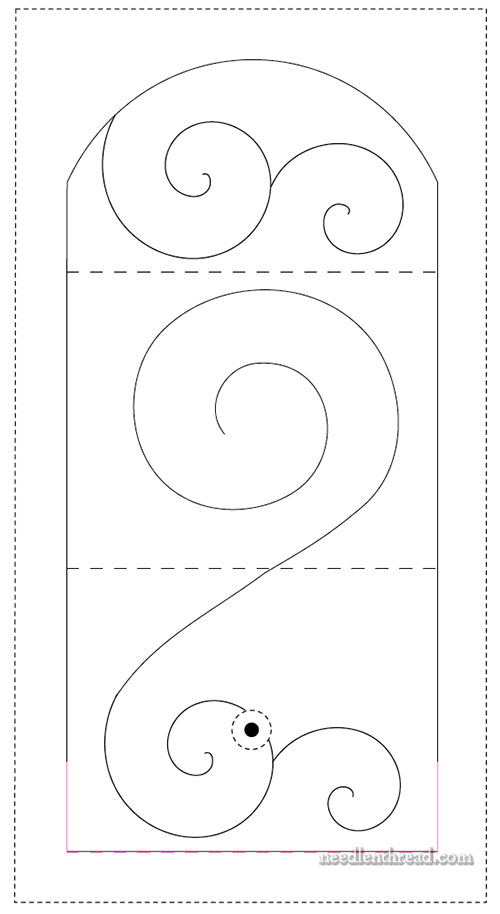
You can download the PDF of the design for Little Blooms here.
Save the PDF to your computer and then print from the PDF on your computer. Choose “actual size” from your printer dialogue box to ensure that the design prints so that the pouch outline is approximately 3.75″ wide and 8″ long.
There are notes on the PDF about the pattern and its various parts.
Transfer Method
The transfer method I used for this project is a modified prick-and-pounce technique. I chose this method for a couple reasons: 1. it’s a good method to use on fabric that’s a little darker and harder to see through, if you’re accustomed to tracing; and 2. it’s an opportunity for you to try another method of transfer if you’ve never transferred a design in a similar way.
You are welcome to use whatever transfer process you like, though! I’m just going to explain how I did it, in case you want to try it.
First, I pierced the embroidery design using a paper piercing tool and some foam mats. If you don’t have a paper piercing tool, no problem! You can make your own by sinking the eye of a needle into something that will hold it and that’s comfortable for you to hold.
I used a #20 chenille needle and an artist’s eraser to make a homemade paper-piercing tool. A #3 or #5 embroidery needle would also work. A cork – from a wine bottle or a craft cork – would work well as a handle, too.
For the pricking mat, I usually use a larger sheet of craft foam from a hobby store (in the kids’ craft section). I cut it into fourths and stack them so that it’s nice and thick. This makes a perfect pricking mat, and it’s affordable. You can also use a sheet of styrofoam if you can stand the feel and sound of sticking a needle repeatedly into styrofoam!
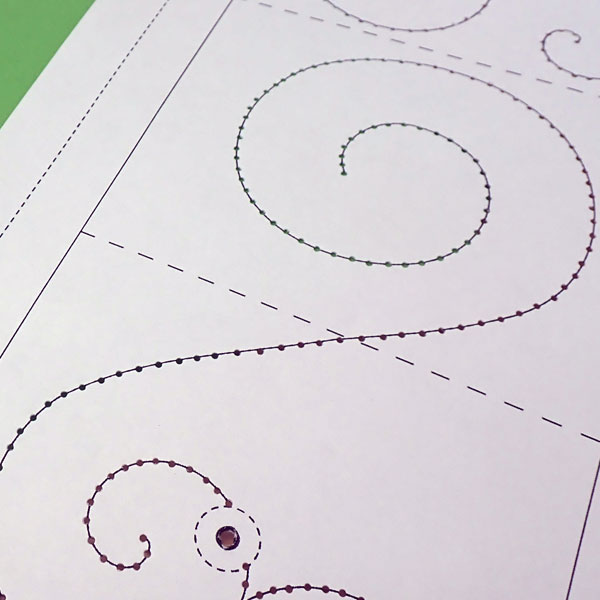
Using your paper piercer, prick the embroidery design at about 1/8″ intervals, following the scroll pattern. Don’t prick the seam lines of the design.
To prick the design, hold the tool straight up and down, perpendicular to the paper, and pierce each hole just once.
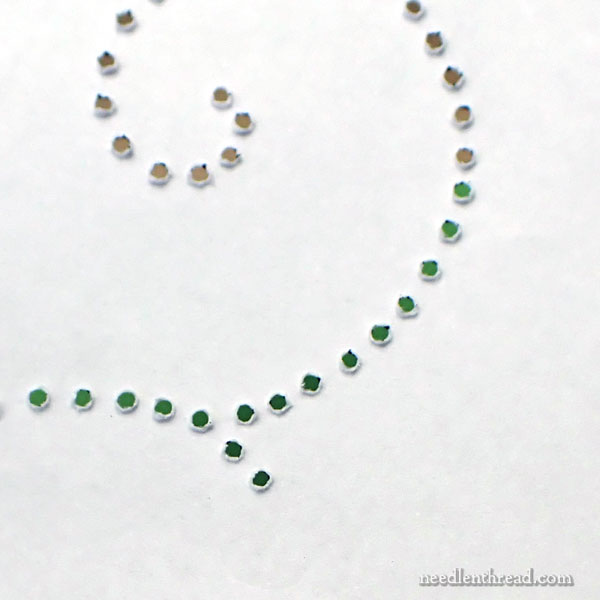
When you’re finished, you’ll see a nice dotted swirly design on the paper.
Now you’re ready to set up the fabric to do the transfer.
First, cut the pattern out of the paper, cutting along the seam lines (the solid lines that mark the perimeter of the pouch).
Be careful when cutting the arched flap. Cut smoothly, right on the solid cutting line.
Draw Guidelines on the Fabric
Center your cut out pattern piece on top of your linen. You can eye-ball the center, or you can measure about two inches in from a long side, and about 2 – 2.5″ from a short side.
Line up the long sides of the cut out pattern with the weave of the linen, so that your cut out piece, when finished, is perfectly on the grain of the fabric. (You can read about what “on the grain” means here, if you’re not familiar with the term.)
Make a mark with your pencil where one of the long sides sits, placing the mark between two of the fabric threads, in the little groove that forms between the woven threads in the linen.
Then, holding your pencil at a low angle, draw it very slowly along that line of the weave, being careful to keep the tip of the pencil in the groove.
Once you have one long side marked, you can measure 3.75″ away and mark the opposite side that runs parallel to the line you just drew.
At this point, just mark the long sides and the short straight side.
Here’s a diagram that shows you how the lines should be laid out. It includes the arch, but you’ll mark that in the next step.

Pin the cut out pattern in place, lining the cut sides up with the drawn straight lines on the fabric.
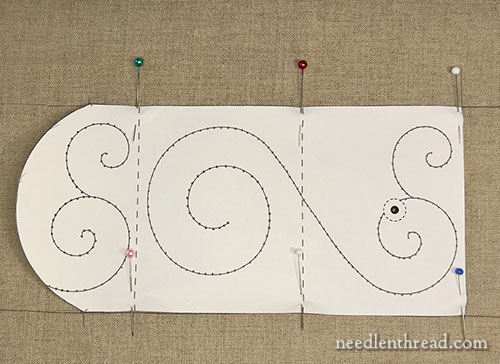
You’ll need to manipulate the fabric a little bit, probably, but your paper and your fabric should both be flat, not rippled or wavy in any way. Start pinning at the short side and pin up along the long sides as shown in the photo above.
Now, you can trace the arch carefully with a pencil. Even if this line is a little dark (not horribly dark, but dark enough to easily see), that’s ok. The seam lines will be sewn over and not visible on the finished pouch.
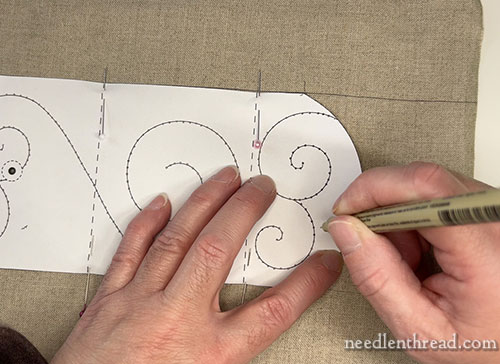
Using a Micron pen in size 005 (.20mm) in black or gray, transfer the design by dotting inside each pierced hole in the pattern.
You can lift the arched flap up to see if your design dots are transferring dark enough for you. If they aren’t, let the pen tip linger on the fabric a tad bit longer.
Work your way over the whole design this way.
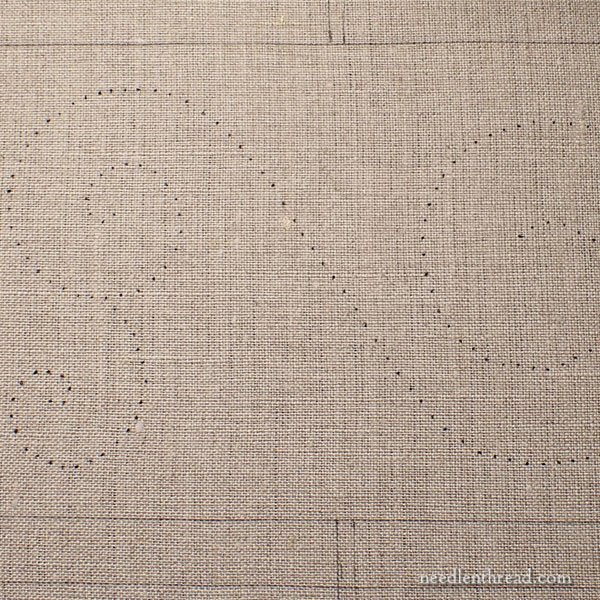
You now have your design transferred and ready to stitch!
More to Come…
In our next installment of Little Blooms, we’ll prepare the threads and stitch the floral elements! In the meantime, get set up so you’re ready to stitch!
Hi Mary, should the linen in the kit be ironed first, to try to minimize the fold line? Thanks!
Yes, you can iron the linen! Just make sure if you use water or steam that you let it dry thoroughly before you transfer. Also, iron horizontally and vertically, not diagonally.
Great instructions, Mary!
I’m looking forward to the next tutorials!
Thank you very much.
[I like to use pounce instead of the Micron pen.]
Mary, I love waking up to your emails in Alaska! Today I saw you were going to show prick and pounce and read on. I did this method with Chalk on a hand quilting job and it can easily get rubbed off which is frustrating. I never thought of marking dots with the pen. Thankyou! I will be trying this method.
Twice I have missed being able to order the kit for Little Blooms. Please put me on a Wait List if you are doing such a thing. Thank you.
Mary, the beautiful little sampler packs of linens that you sell come with a card with detailed instruction about preparing the linen (hot/cold soaks and eventually ironing dry). Can I assume that since there is nothing about that in the ‘Little Blooms’ instructions, that we are skipping that here?
With this project, if you bought the kit and you’re using that fabric, you don’t need to prep the fabric.
Hi Mary, I followed your directions for this modified prick-and-pounce transfer method and really like it! I like to use thick linen when I embroider, and I often can’t see the pattern through the fabric when tracing with a lightbox. This method is such a great solution. In some future blog would you please discuss the use and limitations of this technique? Thank you so much. PS: This is a great project and kit, by the way.
Thanks, Michelle! I’m glad you like this technique – and yes, I’ll write a little bit more about it in the future. There are pros and cons to it, but for the most part, it works pretty well!
What a splendid small project to start learning embroidery. I’m so happy I found you!
🙂 I’m glad you did, too, Maribeth!! Welcome aboard!