


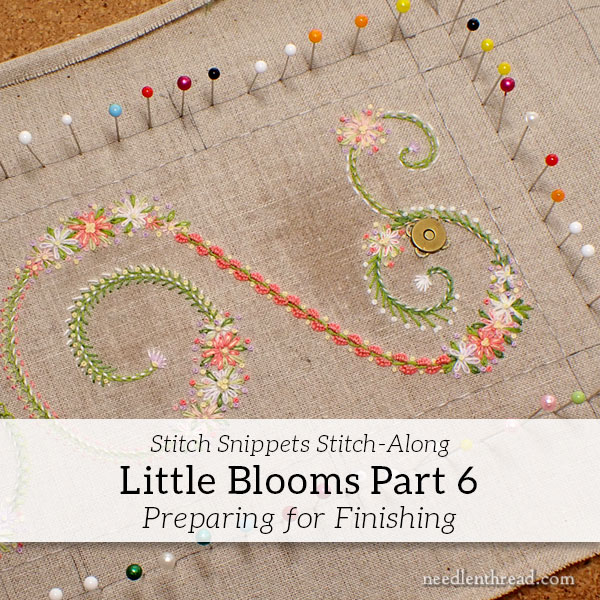
Last week in our Little Blooms stitch-along, we finished the embroidery on the project.
Today, we are going to start the finish process with two preparatory steps that you should not skip.
These two steps are preliminary to cutting out and constructing the snap purse. They will make the finishing easier and the final outcome better
If you’re just joining in, you’ll find the previous installments of this stitch-along all listed here in the Little Blooms project index. Members of the Needle ‘n Thread community on Patreon will receive a downloadable PDF that will include all the finishing steps in one download. This last PDF will cover today’s installment (part 6) as well as part 7 (construction) and 8 (stitched trim), and it will be available when we get to the construction part of the purse in the next lesson.
The preliminary steps to finishing the project are pretty simple, but you’ll need to gather a few things.
You’ll need a white sewing thread. You’ll need sewing pins and a cork board or some similar surface (you can even use a larger piece of styrofoam from product packaging). And you’ll need a spray bottle of water.
First, we’ll start with basting. I’m using white sewing thread because if you don’t remove all the basting stitches during the final construction, it won’t matter. You won’t see them.
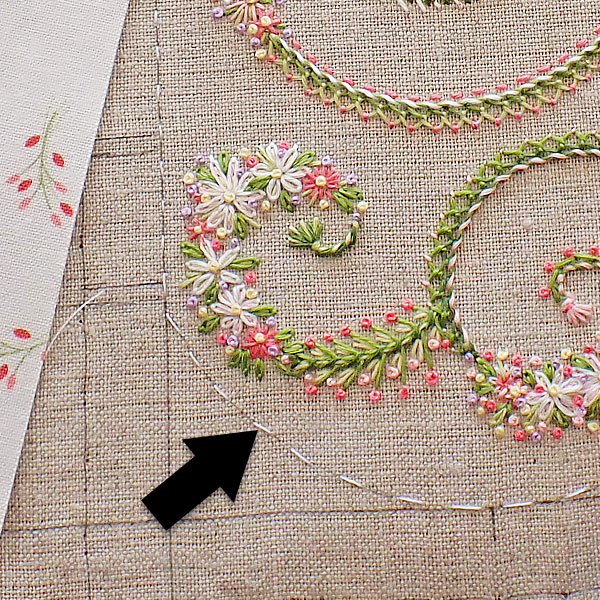
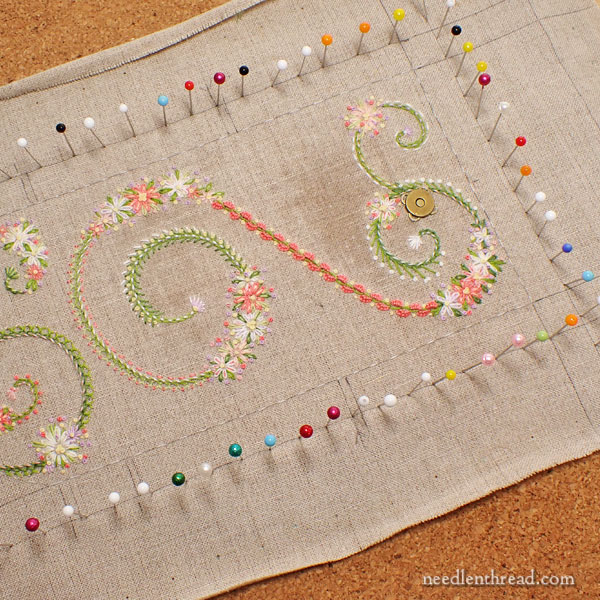
Working on the front of the fabric and following your pencil-drawn lines, work basting (running) stitches on the design line that marks the perimeter (or sewing line) of the pouch. You can keep the stitches rather large, but be careful as you stitch the curve on the flap. You want to keep to the design line with your running stitches, so you may have to work those a little smaller to get a smooth curve.
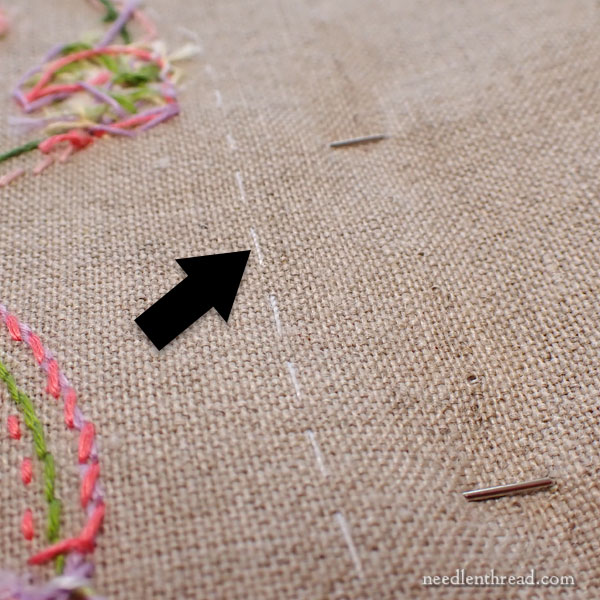
When you turn the work over to the back, the outline of the pouch (the sewing line) should be mapped out clearly by your basting stitches.
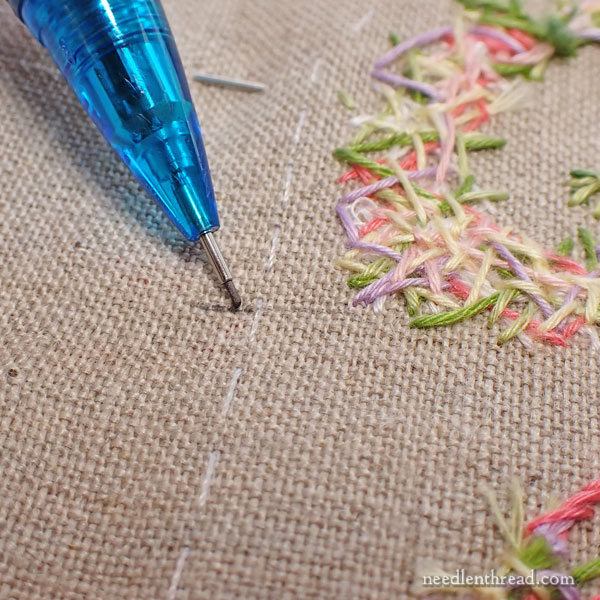
At this point, on the back of the fabric, you can use a pencil to mark the fold lines for the pouch. Mark these lines in the seam allowance area, just outside the basting stitches that mark the sewing line.
It is not 100% necessary to mark the fold lines – and when you actually construct the pouch, you may end up not folding exactly on these marks – but I found it useful to be able to see approximately where I wanted the fold lines for the pouch to be.
Once you’ve finished basting around the sewing line that marks the perimeter of the pouch, it’s time to damp stretch the embroidery.
This assumes that your embroidery is clean. If you need to soak the needlework because it has gathered dirt or something, you would do that now, using cool water and (only if necessary) a very mild detergent. Hopefully, your embroidery is clean and you don’t need to wash it! Once you’ve soaked the piece (if you have to soak it), make sure it is rinsed thoroughly, and proceed to blocking from there.
Whether you’ve worked on a frame or in a hoop, don’t skip damp stretching and blocking the work!
If you’re not sure how to block and damp stretch your embroidery, here are two articles that will explain how to do it:
Damp Stretching and Blocking Embroidery
Tips for Damp Stretching and Blocking Embroidery
Once you’ve pinned the piece out straight, mist it with water and leave it overnight to dry. It must be completely dry before you begin the construction process!
With these two steps complete – basting & marking and damp stretching – and with the embroidery piece completely dry, you’re now ready to move on to the construction process.
Looking for More?
You can find the rest of the articles in this stitch-along series for Little Blooms listed here in the project index.
Our next step will be the construction of the pouch, so stay tuned!

Leave A Comment