


Good morning and Happy Wednesday! I hope you had a terrific weekend!
It was a holiday weekend here in the States (Memorial Day), so a three-day weekend for many. Here in Kansas, my weekend involved (finally!) moving into my newly rebuilt / renovated house…
…only to have to move out again Monday evening (this time to a temporary Airbnb rental), due to a major plumbing issue.
So life is still quite hectic here.
I’m convinced that there must be, eventually, a season of calm ahead. Well, the key is to forge on ahead! And to that end, today, we’re going to finish up Little Blooms. Specifically, we’ll accomplish the two finishing touches – the embroidered scalloped edge on the flap and the snap closure.
Let’s go get this project finished, shall we?

If you’re just joining in on this project, Little Blooms is part of the 2023 Stitch Snippets stitch-along series here on Needle ‘n Thread. You can find the previous lessons for the project listed here. And you can find materials kits for the project available here.
Members of the Needle ‘n Thread Community on Patreon have already received the information in this article in this PDF that was posted last week.

Last week, we finished stitching up the pouch. Now let’s add the trim to the flap!
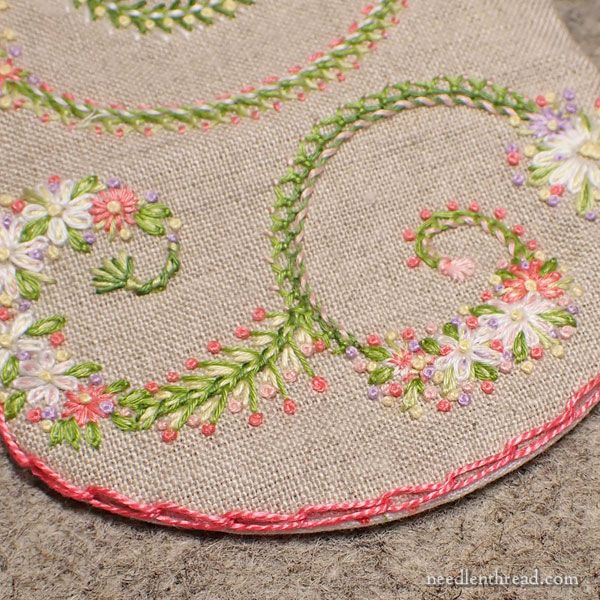
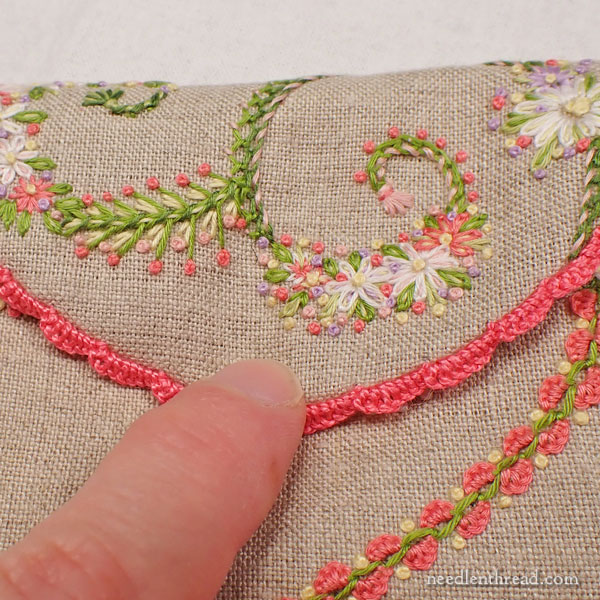
NOTE: In the first example I stitched for this project, the scalloped trim on the flap began just where the curve began on the flap. On the final sample, I started and ended the scalloped trim so that it encompasses the entire flap – the straight sides and curves. The final example ended up looking best.
The upshot: even though some of the photos don’t encompass the straight sides of the flap, it’s best if you start where the white arrow indicates to start in the photo above, and you work the scallops on the entire flap.
First, we’re going to mark the edge of the flap to ensure a consistent stitch length for the foundation chain stitches. You’ll need a micron pen or even just a fine tipped pencil to put small marks along the very edge of the flap.
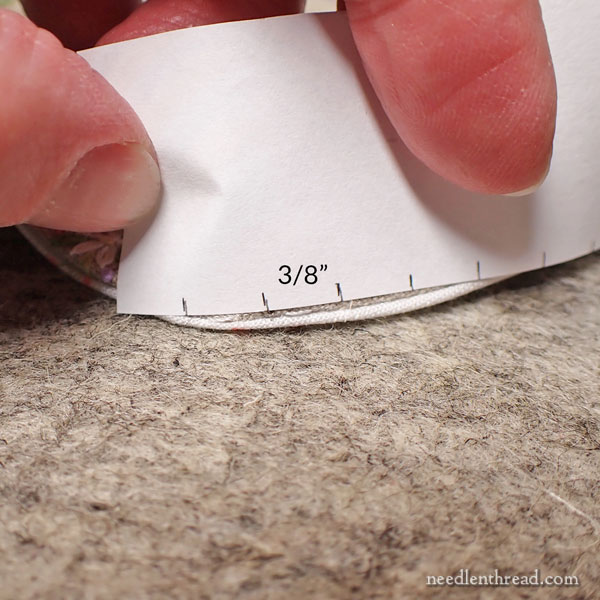
To make measuring along the flap simple, mark 3/8″ spaces along the edge of a piece of paper, as shown above, and then use the paper to mark the very edge of the linen fabric along the flap.
The marks on the linen shouldn’t be large – just a tiny little dot along the edge of the flap’s seam, as shown above.
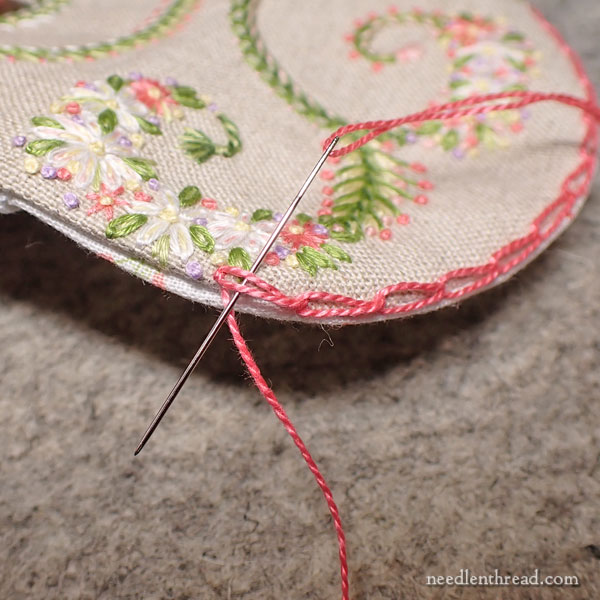
Using the perle cotton #8, cut a very long length (about 36″) and work long chain stitches along the very edge of the flap, using the marks on the linen to guide your stitch length.
To end the chain stitch line, take your needle over the last chain stitch and into the fabric at the edge of the flap, pointing back in the direction from which you just came (shown in the photo above). Then work a few tiny backstitches inside the seam where they won’t be seen and cut the thread.
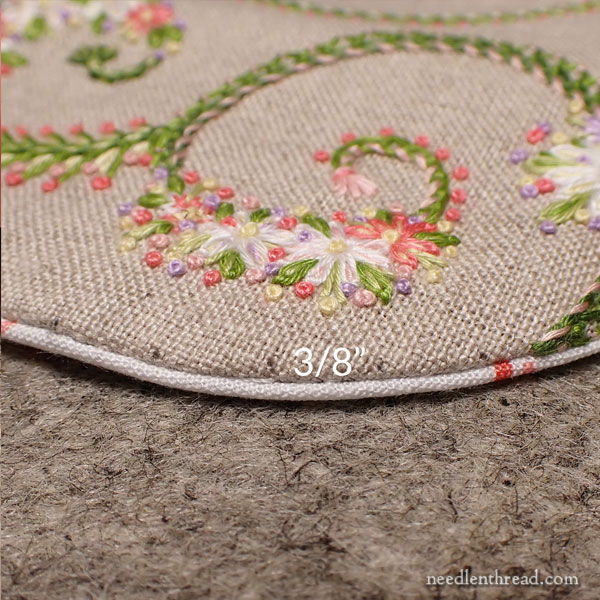
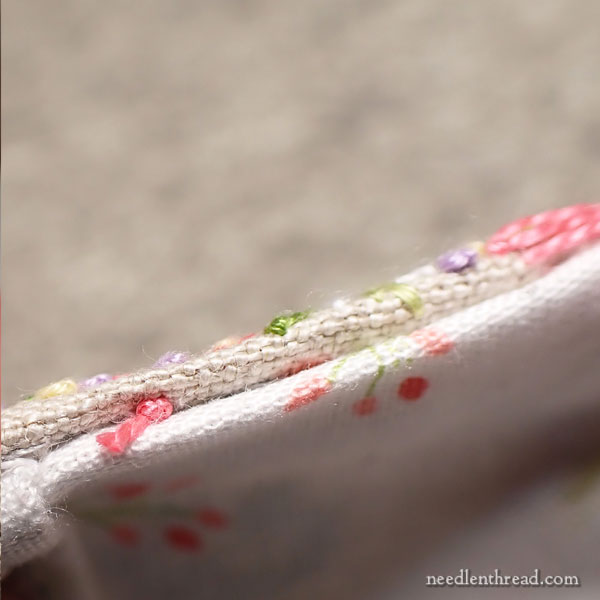
When you’re finished with the chain stitch, you’ll have very long foundation stitches for the scallops just along the edge of the linen.
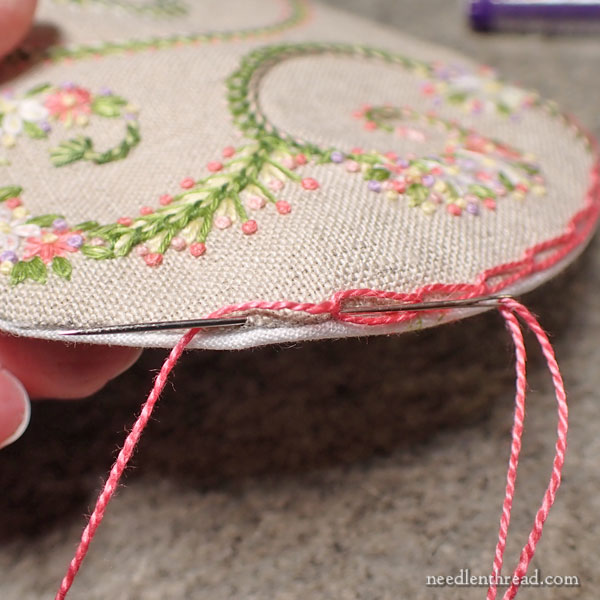
Bring a new thread (cut it long – about 40″) to the front of the fabric, just below the first chain stitch.
Start this thread with a knot and head into the seam on the purse, below the chain stitch line as shown above.
The knot should catch inside the seam, as shown above.
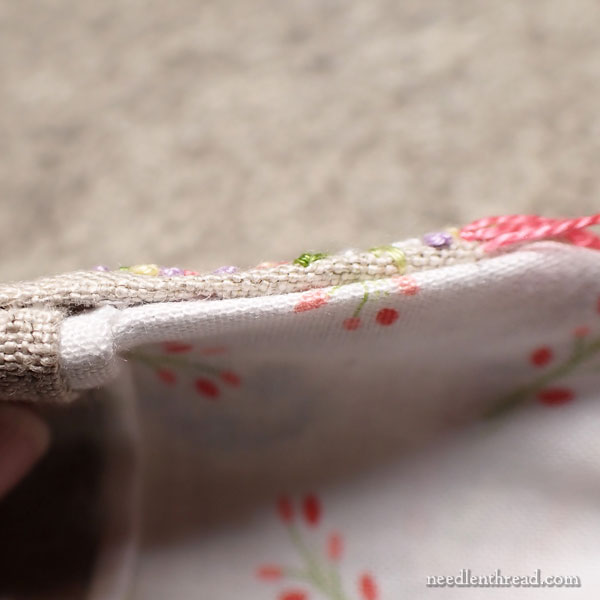
If you give the thread a quick tug, you can pull that knot into the linen, where it will catch inside and not be visible.
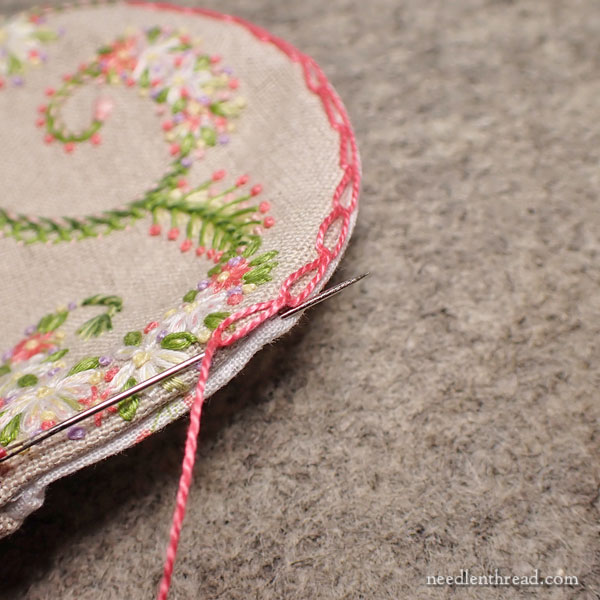
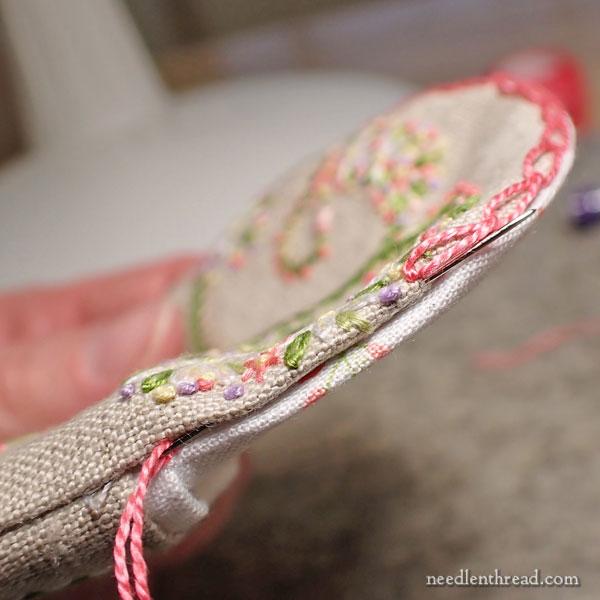
Starting on the first chain stitch, work the scalloped buttonhole chain stitch over the entire chain stitch, following the same method of stitching that we used in this article earlier in the series.
Work about 8 buttonhole stitches on each foundation chain stitch, remembering to pull the first couple and the last couple stitches tighter than the rest of the stitches, to help form the scallop.
When you get to the end of your scallops, end the thread by passing into the seam behind the scallops and stitching a few tiny backstitches. Then snip the thread close.
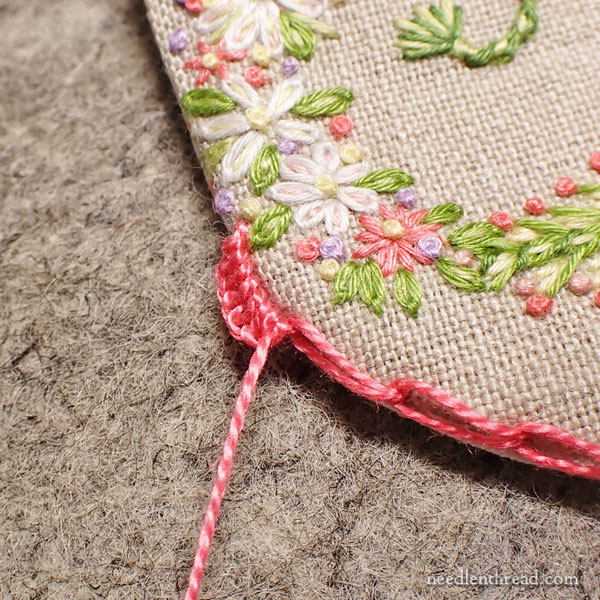
You can barely see the backstitches here.
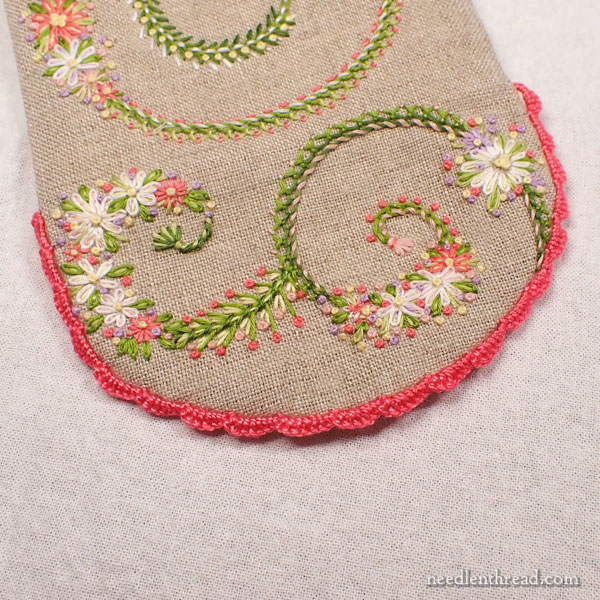
Here’s the finished scalloped edge.
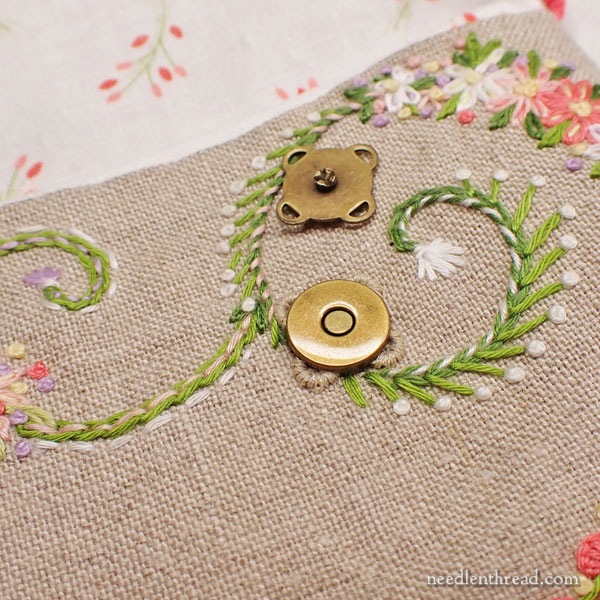
Now it’s time to sew the male side of the snap onto the inside of the flap.
I used a bit of a shortcut to mark where the snap should be sewn.
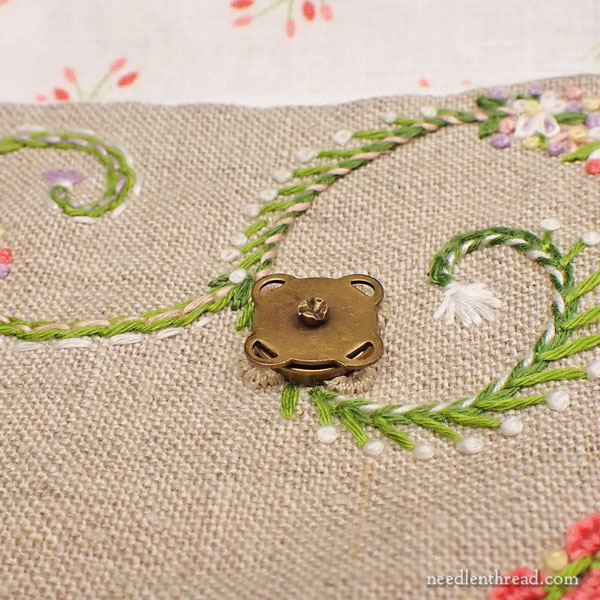
Put the two pieces of the snap together in the way that they normally fit when the snap is closed. The back end of the male part of the snap has a small raised area on it, that you can see in the photo above.
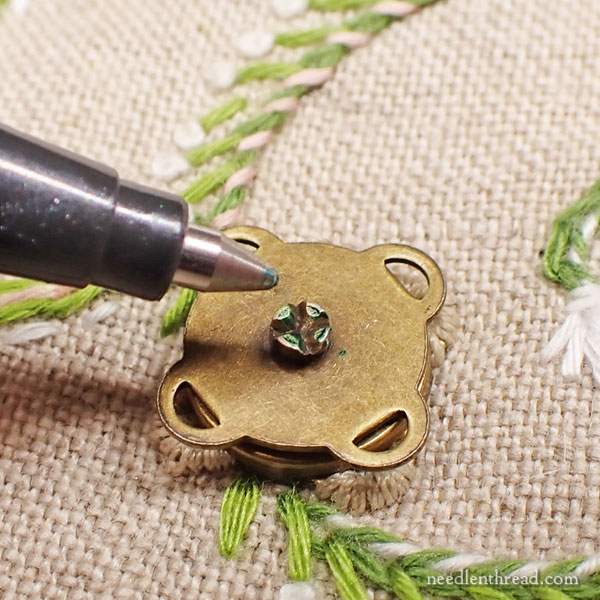
Using a pen – almost any kind will do, as long as it can leave a tiny ink on the tips of the metal – “color in” the tips on the back of the raised area. A felt tip pen, a gel pen, I used a rollerball pen in blue – anything like that will work.
Work out exactly where you want the flap to close before closing it all the way, and then, once you’re sure where you want it to close, close it firmly and push with your finger against the back of the snap.
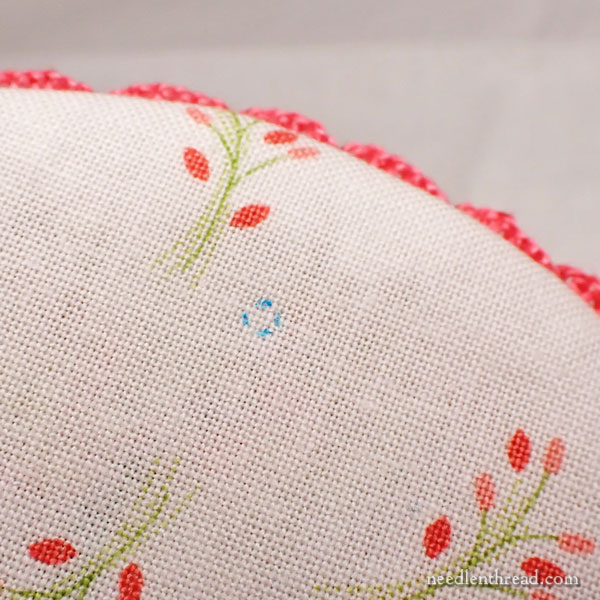
The lining fabric should pick up the bit of ink from the back of the snap.
That’s exactly where you want to sew the snap in place.
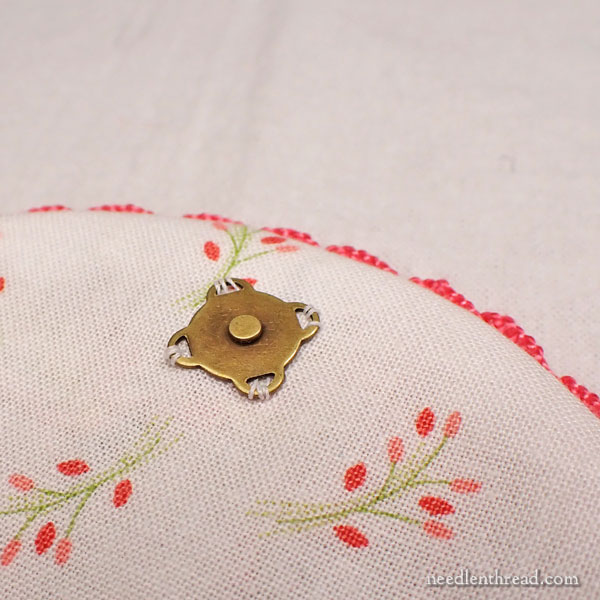
I used a heavier weight white sewing thread – a quilting weight or top-stitching weight will do – to sew the male side of the snap in place.
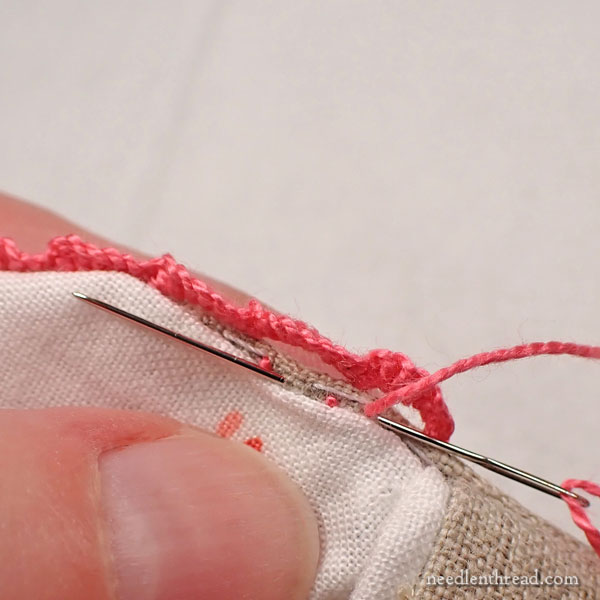
Knot your thread and enter under the lining fabric by going into the seam and popping the knot into the inside with a little tug. Then, “scoop” the fabric to sew the snap in place, moving from loop to loop on the snap. Sew the snap firmly in place. When I took this picture, I had three stitches on each snap – feel free to work more. End the thread by working some tiny holding stitches just under the edge of the back of the snap, then pass the needle and thread out through a seam in the flap, sew some tiny holding stitches in the seam, and snip the thread.
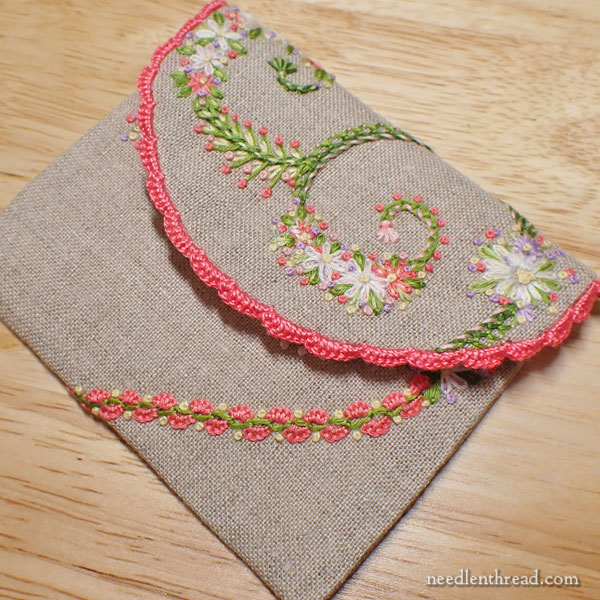
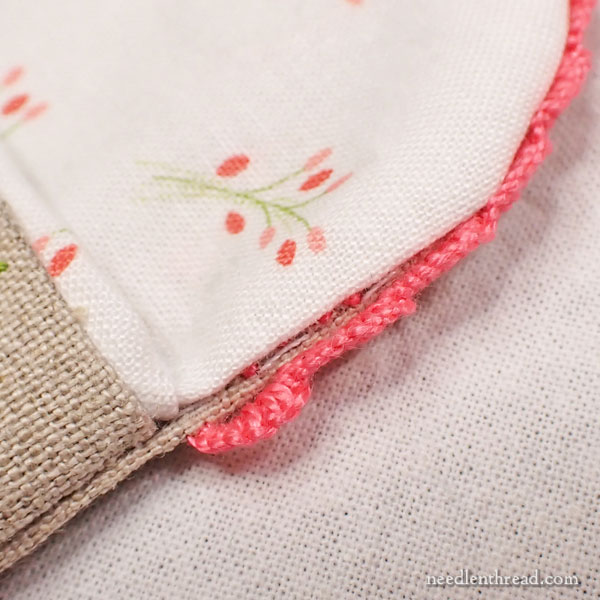
Hallelujah! Little Blooms is finished! Congratulations, and pass the champagne!
You can find this article and all other articles relating to Little Blooms listed here in the project index.
If you’d like to explore more Stitch Snippets from the past, you’ll find all kinds of step by step projects available here under Tips & Techniques in the main menu on Needle ‘n Thread.
Stay tuned for our next Stitch Snippet, which we’ll announce a little later in June! The next stitch-along will be a simpler, smaller project. It’s a whitework-on-color piece, featuring a small bit of very pretty whitework embroidery and a bit of decorative hemstitching, on beautiful colored linen. You’ll learn several handy embroidery techniques during the project, as we work from setting up through finishing! Can’t wait to show it to you!

This has been probably my favorite of your exhaustive, beautifully detailed project finishing instructions. Just the swirling unusual bottom front line on Little Blooms mesmerizes me each time it is shown, maybe ’cause I am an art nouveau enthusiast. Now the finished scalloped edge makes me want to add this functional series of techniques to whatever I make time to construct next. You really add to the wondrous things we can do with our surface embroidery: thank you!