


Recently, I’ve posted a couple articles on carbon transfers for getting embroidery designs onto fabric.
Carbon-style transfer techniques are useful enough that it’s good to be familiar with them. You never know when this approach might come in handy, depending on the fabric you’re using, the size or scope of your design, and so forth.
It probably won’t surprise you, if you’ve read the two articles (Part I here and Part II here), that these aren’t my go-to methods for transferring designs. I would rather trace with a pencil than use a carbon transfer method.
But you can’t always trace a design. In cases where you can’t, there are still other methods I prefer over carbon transfer.
Still, carbon transfer is a useful option to know, and it works well under some circumstances.
Today, we’re going to look at the method on dark fabric, using artist’s white “graphite” paper and DMC’s transfer carbon. Then, we’ll chat about a different approach for dark fabric, and I’ll make some suggestions on modifications and techniques you can try.
If you’re just checking in on this series of articles, please take a moment to read the first two articles linked to above. That’s where we talk about method.
Today, I’m not going to dwell on method much, as far as the actual carbon transfer process goes.
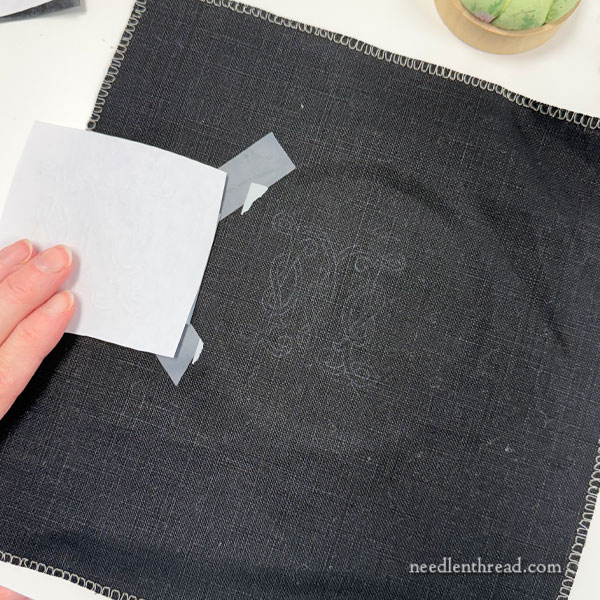
I’m using a white artist’s transfer paper from a craft store, on black linen, with a ball point pen to trace over the design.
It is always difficult to photograph in everyday lighting black linen. Ugh! But the image above is pretty true to what I could see from the white transfer onto the linen.
It’s not very bright, but it is there. If I were planning to stitch this monogram (it’s an M in this Celtic style monogram set), I’d have to enhance the transfer somehow, in order to make sure that 1. it stays on the fabric long enough to work the embroidery, and 2. I can see it comfortably while stitching.
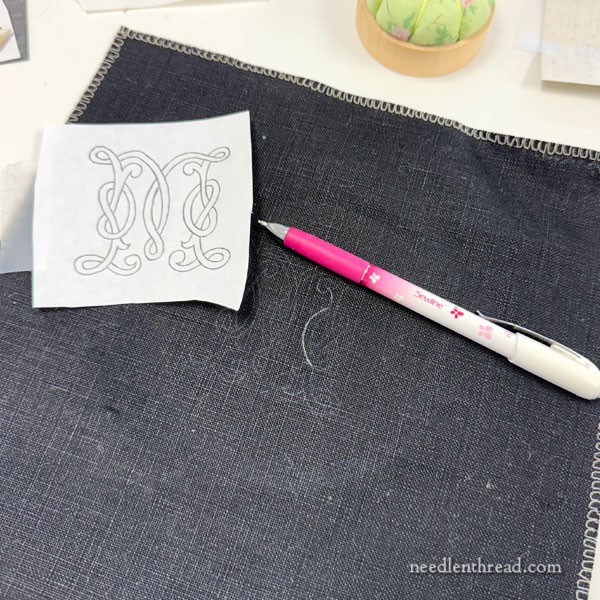
To this end, after executing the white carbon transfer, tracing over the design again with a different instrument can help enhance the line.
In this case, I used a Sewline “ceramic” lead pencil. Bohin also makes these pencils – I wrote about them eons ago here. Bohin also has this chalk liner that can be sharpened, though I still think it’s a bit too heavy for detailed designs, and I don’t think the design would last long.
You could also use a white gel pen, as long as you’re super steady and can be certain you’ll cover the lines with embroidery.
You can see in the photo above the much brighter line from the ceramic lead pencil. It’s much easier to see!
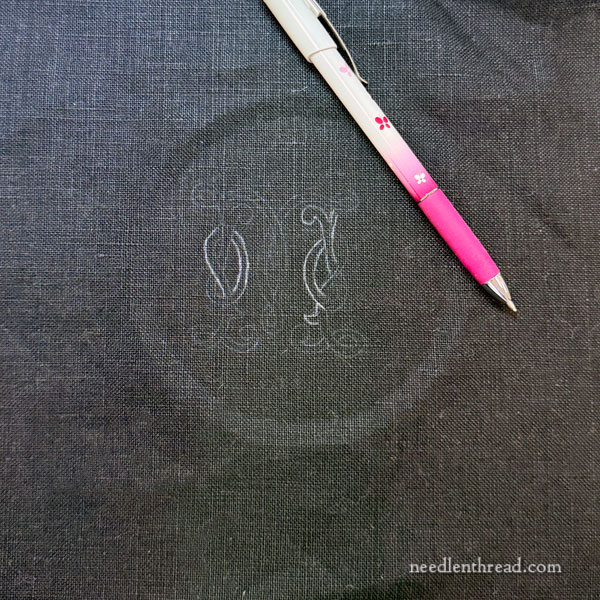
And here, you can see it again.
It took me quite a bit of effort, though, to get a nice steady line that followed the design clearly. I had to keep referring to my original printed design (on paper) because I found the initial carbon transfer really difficult to see under normal light.
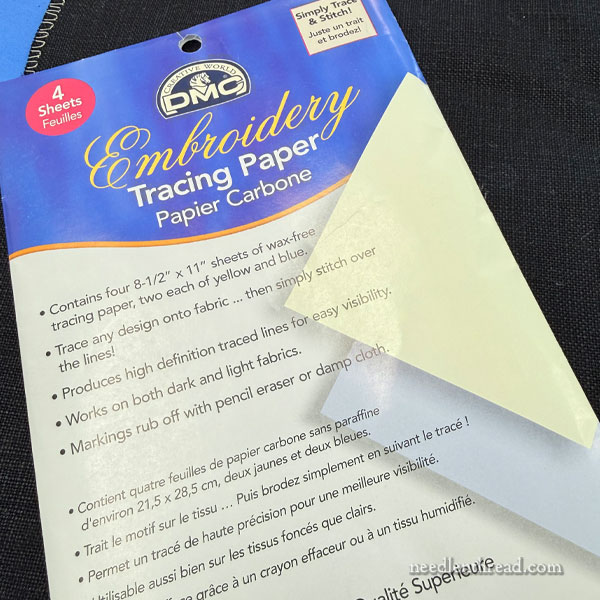
Let’s switch to some DMC “embroidery tracing paper.”
This is more or less the same type of transfer paper as Saral, a brand of artist’s transfer paper, and also very similar to Dritz’s dressmaker’s carbon that also comes in packs of different colors.
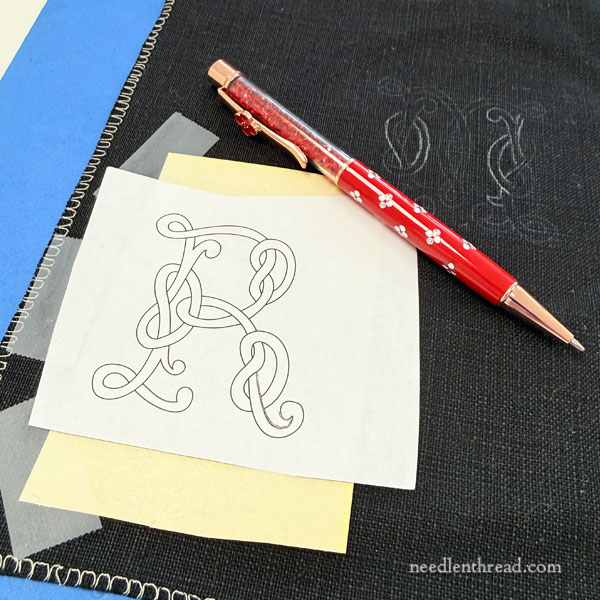
We’ll use the same set up. This time, I’m using the yellow transfer paper that comes in the DMC package. With the “chalk” side face down on the fabric, I taped the corners lightly, placed the design on top, taped that lightly to hold it in place, and then traced with a ball point pen.
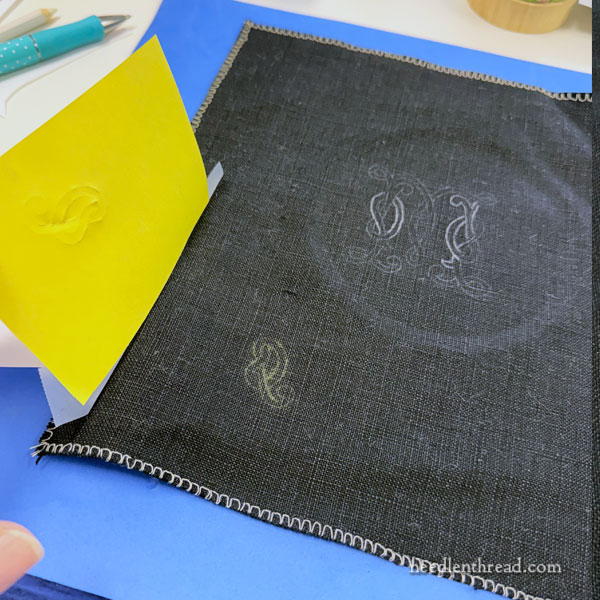
It’s definitely easier to see than the artist’s white transfer paper was, but … but…
It’s very blurry and smudgy!
I would want and expect a crisper line, but I didn’t get one.
On dark fabric, I find that carbon methods are a lot of effort to go through for the quality of transfer that you get.
So let’s switch to something more traditional in transfer approaches – prick and pounce.
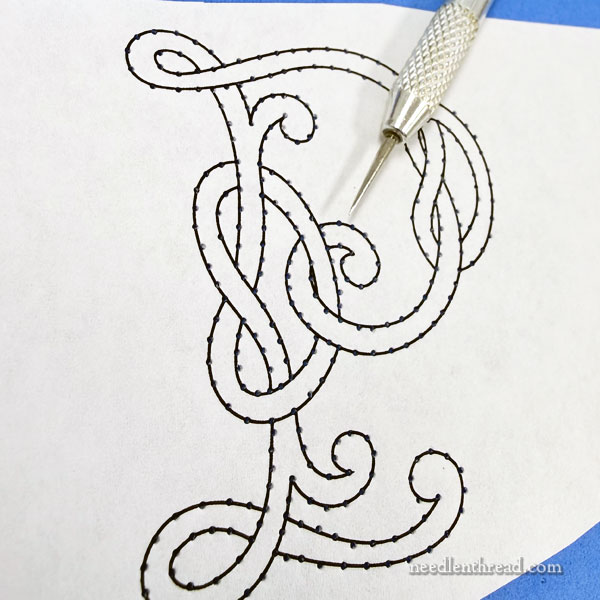
If you don’t know how prick and pounce works, I have a detailed tutorial here for this method of transfer. I also have an older tutorial here for the same method, transferring with white powder onto red velveteen and using yellow paint for the final design.
I pricked the design with tiny holes.
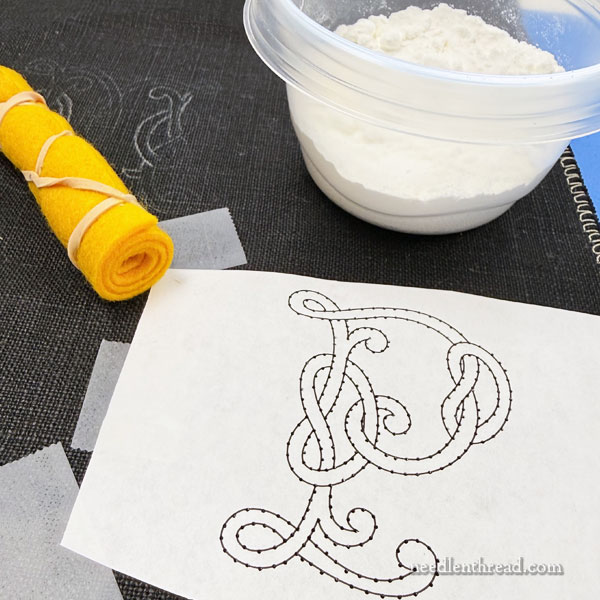
Then I grabbed a scrap of felt and rolled it into a tight roll, securing it with a rubber band.
I have a little pot of cornstarch in my “transfer materials” drawer. Alternately, you can use ground cuttlefish bone (if you want to be really authentic), or you can use talc (although people have an aversion to talc due to its carcinogenic reputation). I’ve gotten to where I prefer cornstarch because it’s easy to get and it works fine.
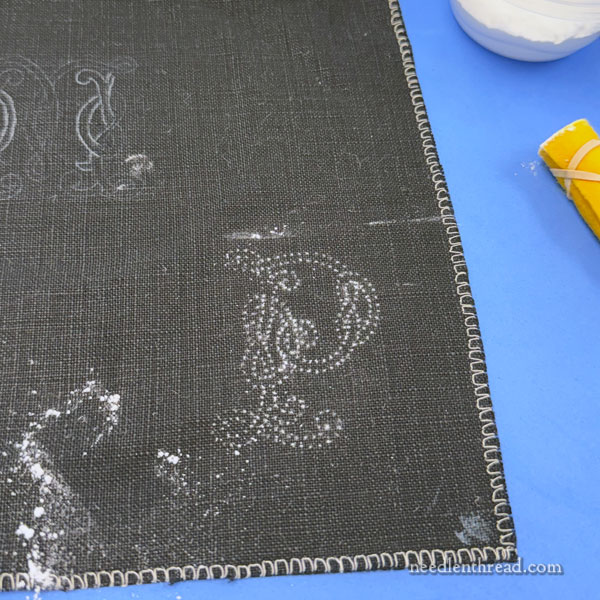
Pounce, pounce, pounce.
I don’t really “pounce” the cornstarch onto the paper. I rub the felt over the design so that the cornstarch falls through the little holes and sits on the fabric.
I made a jolly mess of that. But it’s ok, because the excess brushes off fine!
You can see that the design is easy to see at this point. But it is not stable. You can’t just stitch pricked-and-pounced fabric as is and expect that the transfer is going to stick around.
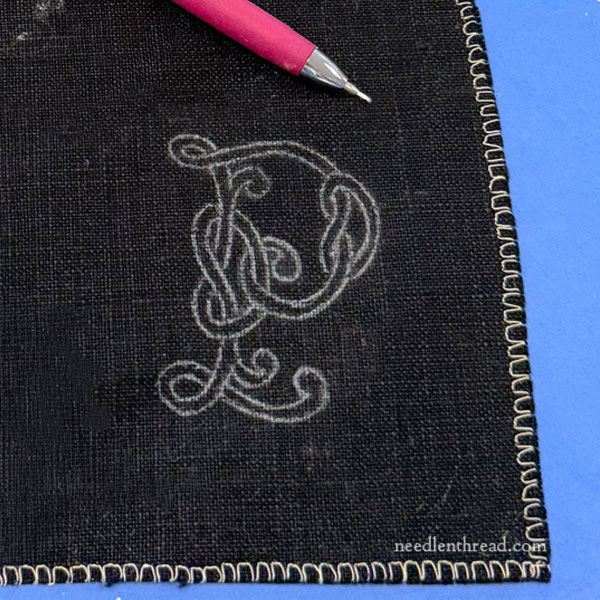
So out comes the ceramic lead pencil again, to trace the pounced outline of the design.
I blew the excess cornstarch off the fabric. And then I picked up the fabric and shook it well. The above photo is the result.
It’s not bad! In the past, I’ve used a gel pen for tracing over the pounce, but gel pens mixed with cornstarch can be messy and they don’t always write smoothly after a while. So in this case, I’d likely prefer the ceramic lead pencil or some other similar white transfer pencil that can provide a relatively fine line.
In fact, I have written about using a gel pen for drawing a design on dark fabric. You can read about that here, with the pros and cons.
And I’ve used this modified approach to prick and pounce frequently, using the tip of a pen instead of pounce powder on lighter fabrics. It might work with a fine-tipped white gel pen that emits enough ink when just touched onto the fabric through the holes. You might test this, if you’re keen on the precision of the prick and pounce method but would prefer a shortcut.
If I were transferring a big design for a long-term project – a magnum opus of some sort – on dark fabric, I would use prick and pounce and then I’d use paint and a tiny paintbrush to paint the design lines on.
The fact is, I don’t stitch frequently on very dark fabric (like black or dark navy), and mostly, that’s for two reasons: my personal preference, aesthetics-wise, coupled with the fact that I have really bad eyesight and I find it hard-hard-hard-hard-hard to stitch on black or very dark fabrics.
But for what it’s worth, these are some viable options for transferring on dark fabric, either using a carbon approach or using prick and pounce.
I hope this comes in handy!

Hi – thanks for these transfer articles – they are really clear and helpful, as always. I look forward to reading your newsletter with my coffee each morning and have learned so much over the years. Thanks for all you do!
Have you ever used gofun? It’s basically a Japanese watercolor that will leave a pale white mark on colors or bright white on darks. You need to use a paint brush to trace your design but it leaves a clear non permanent image to work with.
A light spray of hair spray will stabilize cornstarch/talc/chalk markings from pouncing the design. It won’t last forever, (yay) but usually long enough to get the stitching done.
Pounce and prick is about the only method that will work well for me on silk Dupione.