Here’s my latest adventure with the embroidered book cover that I really should have finished a while ago.
Yep. The event is day after tomorrow – a point I realized yesterday. (Being the attentive aunt that I am, I obviously pay close attention to these things!)
So, yesterday, I spent a little bit of time getting the set-up work done for the embroidered prayerbook cover and selecting colors. Today, I’ll stitch it.
Here’s the set-up process in a nutshell, along with information on the fabric I’m using (and why), the threads, and a few tips that will make the finishing process much quicker.
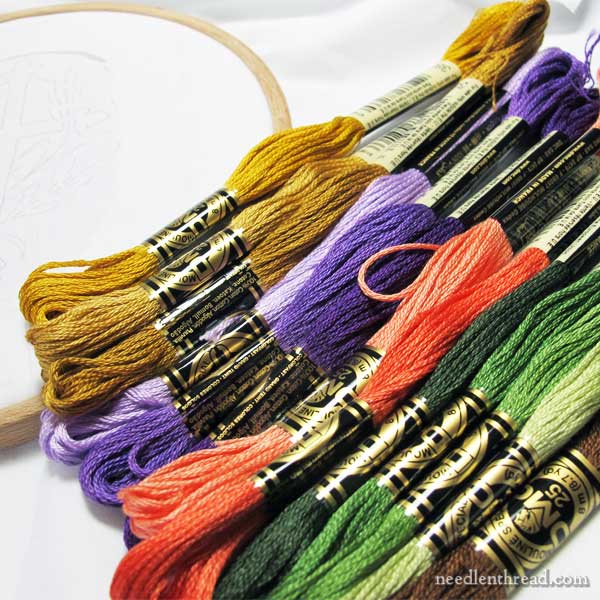
I’m using DMC stranded cotton floss for the whole project.
For such a small embroidery pattern (it’s this cross, wheat and grapes embroidery pattern), you might be thinking I’ve gone overboard on the color choices.
You could be right! I call this Plan A and Plan B. For a project that’s pretty much off the cuff, I just grab out the colors that I think will work, and then some, and I go from there.
This gives me plenty of colors to work with without needing to forage later, but I may not use them all.
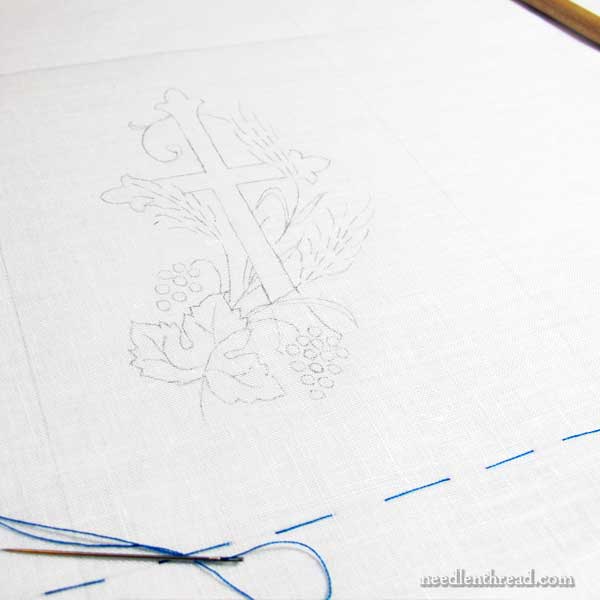
I ended up switching linen for the cover. I’m using linen cambric. It’s a lightweight linen with the most beautiful hand – it’s so smooth, so gorgeous!
Since it’s such a lightweight linen, it needs something behind it to help cover the book, so it’s backed with a good white cotton muslin (called Southern Belle muslin). The muslin with provide support for the stitching.
You might wonder why the linen at all? Well, because it’s beautiful! And even though it’s lightweight linen, it is naturally strong stuff. And finally, because it’s such a pleasure to stitch on!
I spray starched the linen quite well and ironed it, before tracing the pattern. Since I’m using a pencil to trace the design, I like having a nice coating of spray starch on the fabric. It ensures that the pencil will come out easily in the end.
It was very easy to trace the pattern and layout for the cover onto the linen – no light box needed!
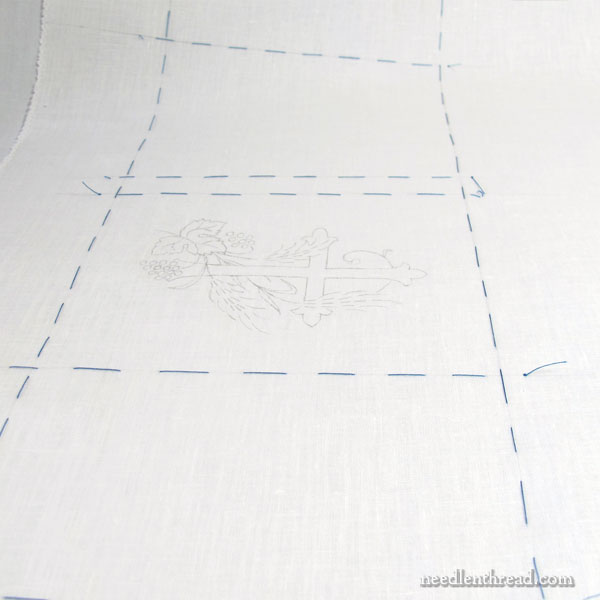
Then, I basted the linen cambric and the white cotton together, making sure the fabric grains were aligned. When you’re working with two layers of fabric, it’s pretty important that neither is even slightly on the bias; otherwise, you’ll end up with warping and puckering.
If you’re unsure of what I mean by the grain of the fabric, here’s an article about cutting linen on the grain, which will explain everything!
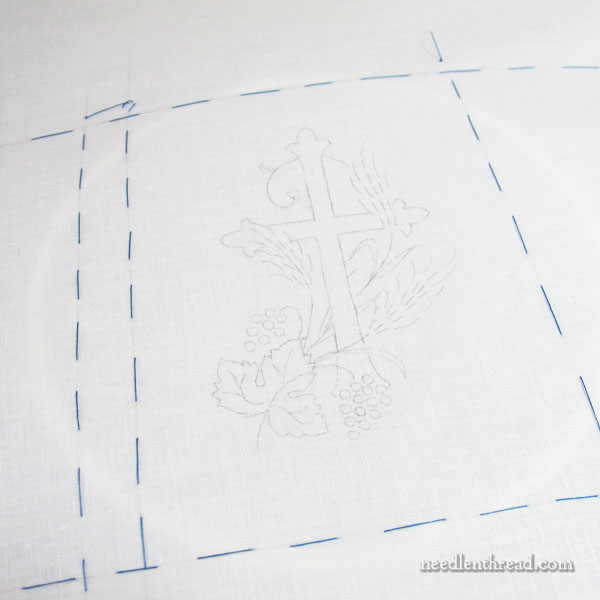
So there’s the embroidery design on the linen in the middle of the book cover, the layout of which is marked by those basting stitches.
Behind the fabric above, you can see just a hint of the hoop. I’m using a 6″ embroidery hoop that’s been bound with twill tape. (I bound it with twill tape some eight or ten years ago – you only have to do it once!)
I’m not quite ready to slip the top ring of the hoop into place, though.
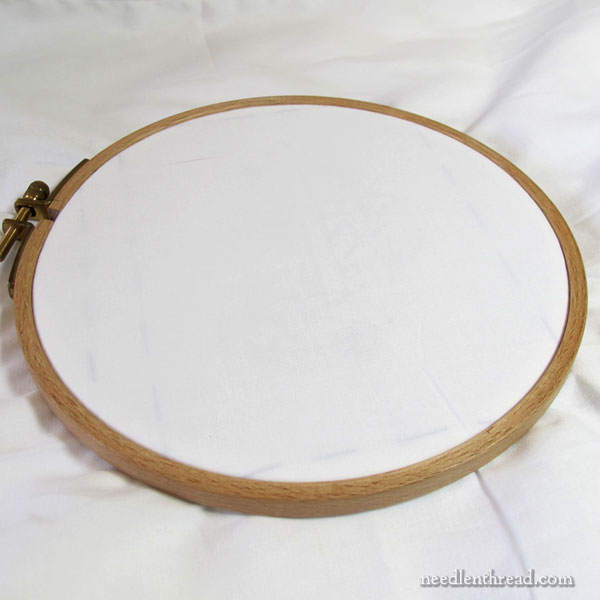
There! Now I am!
But you might be wondering where the pattern went…
I’ve hooped up a piece of scrap muslin on top of the linen, too. So in the hoop, I have the backing fabric (white cotton), the linen ground fabric with the pattern on it, and finally, on top of that, a piece of scrap fabric, which in this case is a small piece of white cotton muslin.
The reason for the top layer of cotton is to provide extra protection for the ground fabric – protection from dirt, from hoop rings, from oil on my hands. It also provides a little more friction to keep the fabric tension nice and taut.
You can use any scrap fabric for this top protective layer, though if you’re working on white, I’d suggest a lighter or white fabric, just in case! Old sheets and pillow cases, cleaned, work well for this.
There are many reasons why it’s a good idea to protect your ground fabric from dirt and oils and so forth, but my motivating factor here is that the less marred the fabric is, the less time it will take to prepare it for finishing into the book cover once the embroidery is complete.
With all the layers stretched taut in the hoop, I used a needle to lift the top layer away from the linen just enough to slice into it with a sharp pair of scissors.
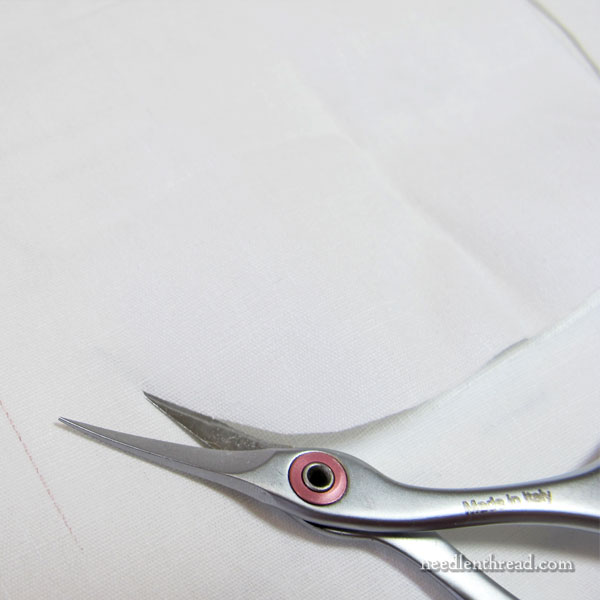
Then I cut out a window, to expose the pattern area for stitching.
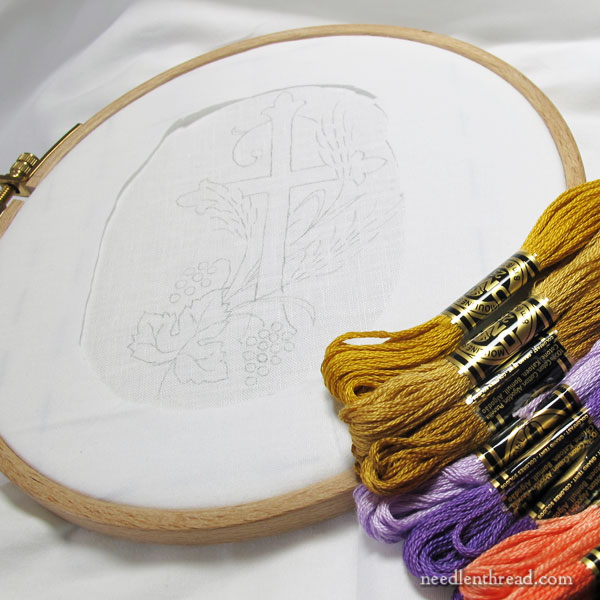
You can see a good sized frame of protective fabric there, that will help keep the linen clean, and just enough of a window to stitch in.
Now I’m ready for the fun part!
I figure it’s only about three or four hours of stitching, tops, and only that much because the large leaf is long and short stitch. Otherwise, the rest will go pretty quickly.
Yep. Famous last words.
I’ll let you know how it turns out!
Enjoy your Friday!
Book Cover Articles
You can find all the articles relating to making this book cover through the following links:
The cross, grapes, and wheat embroidery pattern
Setting up the project and choosing colors (this article)
The embroidery on the book cover
Finishing and assembling the book cover


I’m cheering you on to get it done in time. Good luck, Mary! Looking forward to seeing the finished product in a photo with your niece! 🙂
Thanks, Debbie – I’ll definitely include photos!
Mary-
This project covers many interesting aspects of small hoop work.
Will you be using a hoop holder or stand?
How will you keep the excess fabric out of the way?
thank you for sharing–you are a daily inspiration.
susan in dallas
Hi, Susan –
Good questions! I’m just holding the hoop in my hand, and dumpling up the fabric, I’m afraid. The covering scrap fabric is large enough to give me some protection on the rest of the cover, too. To tell you the truth, I don’t plan to be holding onto the stuff for too long – it really should be a quick stitching job! Yeah, there I go again….underestimating, I’m sure!
You can do it! I believe you can do it in plenty of time and relax a while too!!
Dear Mary
I never thought of putting muslin on top of the fabric for protection good idea. I must remember to spray starch next time I start a project. I’ve already decided what I’m going to do for my next project my twin niece is getting married next year and I’ve decided to embroider a lace journal with lots of pockets and monograms hence the stitch sampler monogram F and J and photos which I shall use the Shisha stitc,h so I have been researching lace journals and there are some lovely ones on the internet. Good Luck with finishing the project on time and I can’t wait to see the photos I hope your niece will like the book cover the design is lovely. Thanks for sharing how to set up a project with us and for your tips.
Regards Anita Simmance
Do you baste your cover fabric to the working piece? I’ve had to do that because my thread always seems to want to work its way underneath those cut edges!
Hi, Liz – no, I didn’t baste it. no thread problems (yet)….
I’ve done the same thing too many times in the past, waiting until the last minute. I hope you time it, but as it looks fairly simple I’m sure it will be quick. For some reason I thought you would stitch in using white floss, so I’m looking forward to seeing how the colors work out.
I have a niece who should be making her First Communion in four years, so maybe I should get started on a book cover now.
Good luck!
Thanks again for very useful tips! I should have used a backing fabric for the l&s stitch tutorial – now, next time I plan using a light-weight fabric I’ll have some idea how to set it up.
What great tips – I never would have thought to put a cover piece on – genius! And, the starch is another great idea. I will certainly keep these tips in mind! Looking forward to seeing the end product – I know you can finish in time! o:)
Hi, Mary: I have found that protecting my work with another layer is very useful also, but I have another trick, rather than fabric. Are you familiar with “Press’n’Seal” ? (It’s a plastic film wrap originally for food, but I have found many uses for it in my craft room) …the wrap has a slightly tacky back which allows it to adhere to things, I have found it great for protecting my work as it progresses. Sometimes I will just open a small window, just where I am working, then cover that area , once stitched with a small patch, & cut open the next area. It works wonders! I have also used it to protect delicate areas of goldwork, etc, when completed, while I move on to the next. I have also traced my pattern onto it, then basted the design through it, cutting away the design areas as needed, for stitching..similar to using a Solvy product, but more economically. This product has become an ‘unsung hero’ of my craft room!
Hope you got your book cover done in time …from a fellow procrastinator ;-)..Amanda
Hi, Amanda – Yes, I have tried it – It’s a great idea and it works well! I rarely have the stuff on hand, though. I should remember to get some just for these purposes – you’ve convinced me to put it on the list!
Hello Mary, why is there two layers of fabric, and why do we need to cut a hole to see the pattern? I am sorry if i am jumping ahead of you. Could this book cover also be cover in silk or satin like Chasuble and have a more decorative and heirloom fabric to hand down from Generation to Generation. Mary I am asking questions because I want to learn what I can and can’t do. Please do not be offended, I am new to all these techniques and you will see alot of stupid questions come out of me. Where I live there are know shops to ask questions. I love your blog and I hope you never get tire of us or writing your blog. Thank you Sandra
Hi, Sandra –
The backing fabric provides more stability for the stitches and it also provides a more solid cover, so that the original book cover doesn’t show through the fabric. The linen cambric ground fabric is quite sheer.
Yes, the book cover could be done in a silk or satin, no problem. The only difficulty might be in washing, but there’s really no reason why silk or silk satin can’t be washed by hand.
The fabric on the top is to protect the ground fabric (the linen) from dirt and grime that might accumulate around the hoop ring.
No problem with questions! Don’t forget to take advantage of the information on the rest of the blog, by clicking through the links in the articles that take you to other posts that explain what’s being done and why!
Does the press-n-seal leave a residue on the fabric or threads?
My question is not really about this particular project but projects in general. How do you ‘file’ your floss? I have mine in baggies organized by number on large rings similar to 3 ring notebooks and I find it pretty inefficient. If I’m working on someone else’s design that calls for specific numbers I can find them easily but when designing my own or changing to new colors, it drives me bonkers. I think filing by color might make finding colors easier.
Hi, Beverly – I use cabinets – these, in particular: https://needlenthread.wpengine.com/2012/04/embroidery-thread-storage.html
If I have skeins that are too lose or have no tags, I put them in tiny baggies, marked with the number and put them in the drawers. The drawers are arranged by color families.
Mary, Sorry to bother you the scissors our on this page. Is this the scissor you sent me the websight on? Thank you!
Sandra
Yep, that’s the link!
Hello Mary, The Ring Lock System scissor should I purchased the straight blade scissor, or curved scissor or both. Thank you for your time and help
Sandra
I have both. It just depends on whether you want straight or curved blades. Curved make it very easy to get right next to the fabric. Straight are great for trimming cut work and the like….
Good Evening Mary, My question is with so many scissors you have do you know of any case that holds multiple scissors? Or how do you mark your scissors such as the ones you use with goldwork when start having so many scissors?
Thank you
Sandra
I keep mine in a simple box, or in a tray while I’m working. I don’t really need to mark them – I pretty much know which ones I use for what.
In reply to Janet C….no the press’n’seal does not leave any residue on the fabric. It is more just slightly tacky,as opposed to sticky…although it adheres well, if that makes any sense at all! If I am doing a lengthy project sometimes I will use lo tack painter’s tape/ or masking tape that I decrease the stickiness of just around the edges of my project window