


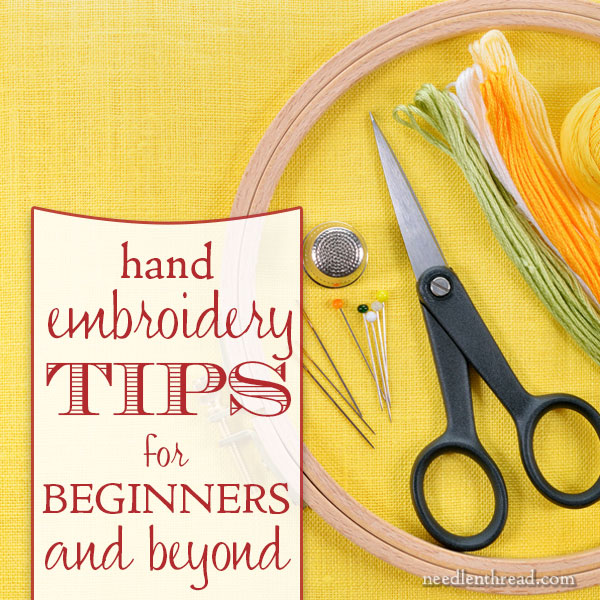
For those of you who are just delving into the wonders of hand embroidery and discovering the creative pleasures that embroidery affords, here’s a list of tips that you might find useful along your journey.
For those who have been embroidering for a while, some of the tips may be old hat to you, but others might offer some new ideas to help spark the creative muse, or just to make needlework easier for you.
You might even have your own embroidery tips that you can share in the comments sections on the various articles listed below. Maybe you’ve learned a little trick or technique in your needlework pursuits that has made your stitching better or easier or just more fun? Why not share it with others, so that they can benefit from your experience?
As you browse the articles, don’t forget to check the comments sections – you’ll often find real gems there!
The Preliminaries
Setting up an embroidery project might seem daunting, but these tips will get you through the tough parts:
Learn how to neaten the edge of your fabric (and why) here.
You’ll find all kinds of ideas for how to transfer embroidery designs here.
Unsure of what kind of hoop or frame to use? Here’s a run-down on different types of hoops and frames used in hand embroidery.
And speaking of hoops, what makes a good embroidery hoop? Find out here.
You can make your hoop work even better by binding it with twill tape. Find out how to bind an embroidery hoop here.
Which Needle?
Here are 5 things you should know about embroidery needles.
Make sure you’re using the right needle for the job! Learn about the different types of embroidery needles, what they look like, and what they do, here.
We’ve even talked about various ways to thread embroidery needles. Read the comments on this one, too!
This article – All about Embroidery Needles – includes a list of links to many informative articles on the stitcher’s most necessarily tool.
All about Threads!
Here’s a list of various thread comparison articles on Needle ‘n Thread, if you’re baffled about the different types and weights of embroidery threads.
Maybe you just want to know about cotton threads and their types of weights. Here’s an article that covers just that question, and you can see what these cotton threads look like stitched here.
If you don’t know about separating strands of cotton, you’ll want to read this article on how to prepare stranded cotton (that’s the popular 6-strand stuff from DMC, Anchor, or the like) by stripping it – it makes a big difference in the way your stitches turn out!
Unsure of how many strands of floss to use? Here’s an article that shows you what different numbers of stranded cotton in the needle look like, stitched.
Time to Stitch!
Ever wonder how to begin and end your thread without knots? You’ll find several photo tutorials here to help you out.
Ut-oh! Slip knots are inevitable – here’s how to remove and repair those pesky slip knots.
If you know these ten embroidery stitches, you’ll never be bored!
These tutorials for hand embroidered flowers and leaves will help you add variety to your embroidery projects.
Of course, you can learn all kinds of new stitches by watching the how-to videos here on Needle ‘n Thread, or by following the step-by-step tutorials in the Stitch Fun series.
If you’re interested in creating your own sampler of embroidery stitches, check out these tips.
On Specific Stitches
Chances are, you’ll probably use chain stitch at some point. Learn how to create a perfect circular join with chain stitch here and how to start a new thread in a chain stitch line here.
And you’ll definitely want to learn stem stitch and use it, too. It’s a beautiful stitch and very versatile. These 12 tips for better stem stitch will serve you well!
Here’s hoping you find some useful tips herein! Don’t forget, you can always browse the Tips & Techniques section here on Needle ‘n Thread for further reading, too!
Like what you see?
If you enjoyed this article and you’re looking for more inspiration, information, and instruction on hand embroidery, why not sign up for my daily newsletter?
There are all kinds of reasons to have Needle ’n Thread delivered to your inbox – check them out and sign up today!
Wow! This is a go to post. I will be bookmarking it to help me out on my current and any future projects. Thank you so much!
Mary, think I will forever see myself as a “beginner”. The learning never ceases!
Always reviewing basics seems to refresh this old tired mind. I refer to your website as my Embroidery Bible.
Recently rediscovering the bullion knot. What a versatile fun stitch to use.
Thank you for your endless hours to guide us.
Lynn S.
Don’t forget about joining a group that supports you and your work. Whether it be a guild, a class, a group of friends or a group at your local library, community or senior center, joining a group really helps the stitching process. It doesn’t even have to be a stitching specific group. I attend a weekly craft night at my local library where I am the only stitcher. Everyone else does other crafts. I can’t tell you how much support and encouragement they provide. They help keep me on track, give input when requested, and provide lots of encouragement. It’s one of the best things I ever did to improve my stitching!
Good review, and oh, my, I learned about how to really take care of a nasty little bugger on the back of the embroidery (slip knot). I’ve always just left it (my pieces are laced onto board and framed, so back is unseen) and to make sure there isn’t a future issue I’ve taken a thread thru the loop and pulled it taunt (not too tight) and whipped it so that the extra length can not come undone and loosen on the front. Your way is sooooo much neater. I will try to keep an eye on them now that I know why they happen (had no idea why) but I get so engrossed at times I may well forget (we won’t talk about age.) 😉 Now I know how to be a “neat Nelly”. 🙂 Fun post and very helpful. Review is always good.
Dear Mary
The post above is so helpful although I’ve been embroidering for a while now it’s always good to review different tricks and techniques on embroidery. I will browse through the posts above and re-acquiant myself with the techniques again and I will look at the comments for different aspects of needlework. Thanks for the putting all the posts above together for us and for sharing your expertise with us this is very useful.
Regards Anita Simmance
Thanks so much. I’m about to embark on an embroidery project using chain stitch to fill in your Circus Pods! design, so your tips are just what I need.
I’m pretty new to embroidery and your articles have been extremely helpful. I bought a bunch of supplies for Nordic Needles —pearl cotton in various brands, Krenik metallic, some silk, and even a skein of rayon. I’m finding the silk (and the rayon!) a bit ‘slick’ —any suggestions? (On the other hand, I had great luck with the metallic –I found that a simple back stitch works pretty well.)
Hello Mary,
I made a horrible mess with glue running on my silk embroidery – a small area less than 1/4 inch in diameter – the tip of the craft glue pen had a small dry piece of glue that “exploded” under the pressure I was putting on the glue pen which was running what seems like normal…
Any advice of how to get rid of the discoloration? I did not wash the embroidery because silk is not supposed to be washed, like cotton…
No more glue pen for me
Thank you for your help and advice, sorry, just a bad Monday morning!
Jackie
Thanks! I volunteered (read: got drafted) into giving a short embroidery class at my quilting guild’s meeting this month. I have been trying to figure out which stitches to include, and this helped me to figure out what to narrow it down to. It doesn’t help that *all* of the ladies there are at *least* twenty years older than I am! 🙂
I now know why my stem stitch doesn’t always look like a stem stitch! It’s because it’s an outline stitch masquerading as a stem stitch!
Thanks again, Mary! I’d like to second Sarah Aldrich’s suggestion about joining a group, but add that it doesn’t have to be face-to-face. I’m learning a lot (and unlearning some bad practices) from your site, but I’ve also learnt a huge amount from being on Stitchin Fingers – seeing such a huge range of work is inspiring, and everyone is so generous and willing to share tips and ideas. (So that’s a second thank you to you, Mary!)
Thank you so much for this and all of the other wonderful posts. I love hand embroidery, but it’s been too long since I have done any. So, now that I am getting back into it, I find your site has been so helpful. I really can’t thank you enough.
Hi Mary, Thanks for this wonderful review and your great effort at pulling this post together for your devoted readers/embroiderers to continue to learn our craft.
I thought I knew a thing or two about embroidery, but when I joined my local EGA group a few years back, I felt I was back in kindergarten. However, all members have all been wonderful and eager to share. I’ve learned a lot from classes and guest teachers from around the world. So, I’m with Sarah Aldrich here–join in any group that supports you and your passion for hand sewing. And really, Mary! YOUR website simply is TOPS. Can’t go a day without reading and learning from you and reader comments. Thanks so much to you and to all. ~~ Roxanne
I have been doing embroidery for what seems like centuries and I tend to become complacent, BUT I find it totally refreshing to read “TIPS FOR BEGINNERS”. I remember how to do stitches that I haven’t used in years and years, not to mention picking up some new things. As an “Ole Dog” I can always learn new tricks!
Thank you