


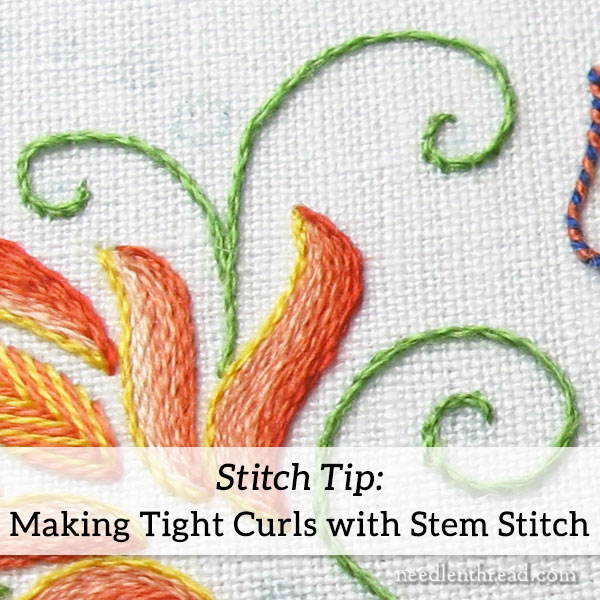
I use a lot of stem stitch when I embroider – primarily, because it’s a pretty stitch, but also because it’s so versatile.
I can use it as a filling, and even as a shaded filling. I can use it for fine lines or heavy lines. I can use it as a foundation for other composite stitches. There are heaps of ways to use the stem stitch!
One of my favorite ways to use the stem stitch is for delicate lines that curl at the tips. Sometimes, though, it can be tricky to get the stem stitch to curl around a tight curve correctly.
So today’s stitch tip is a simple one, and pretty quick! Here’s how to stitch tight little curls with stem stitch. The same principle can be applied to hairpin turns, too, and any tight curves in stem stitch.
On this particular piece of embroidery, I’m using a single strand (from the six) of regular DMC floss, so the lines are quite fine.
In principle, with the stem stitch, the longer you make your stitches, the finer the line will normally end up. Short stitches will create a more rope-like effect, where each stitch is distinguishable, hugging in an “s” curve around the previous stitch.
This rope-like look is quite pretty, and it’s generally the look you want when stitching lines of stem stitch.
When you want to go super-fine on your lines, you might elongate your stitches slightly.
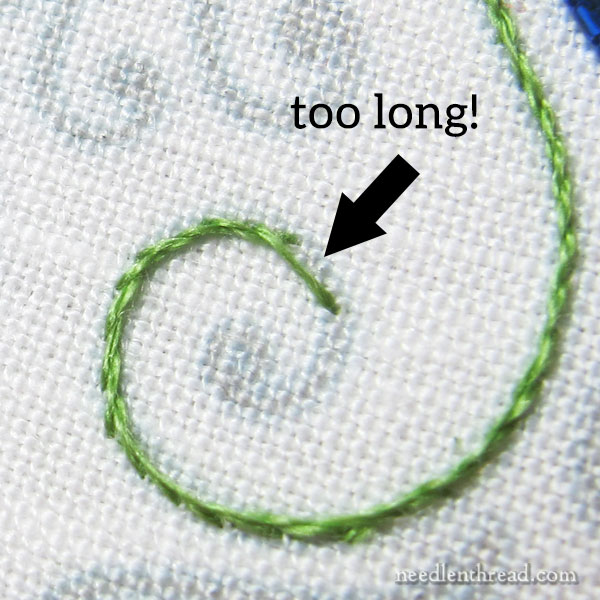
However, if your stitches are too long when heading around a tighter curve, the straight line of the stitch will cut across the curve and cause your stem stitch to look separated and a little hairy.
The trick to keeping the line neat, with the stitches hugging together for that rope-like look, is really simple!
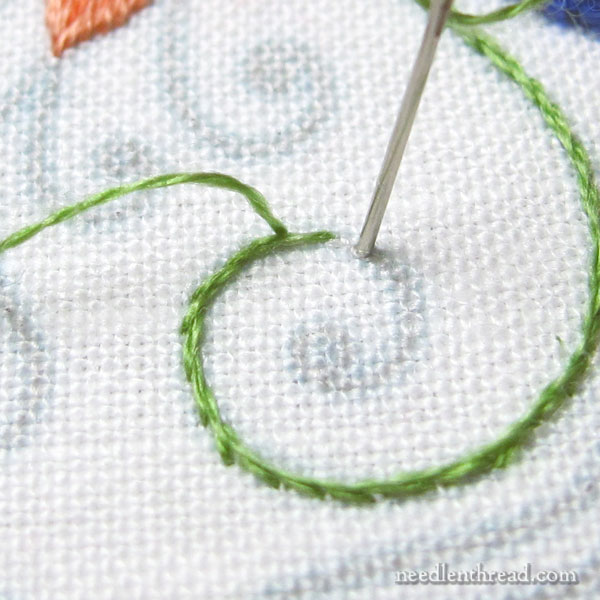
Just shorten the stitch!
The shorter stitch will adhere more closely to your design line, and the subsequent stitch will twist around it as it’s supposed to do.
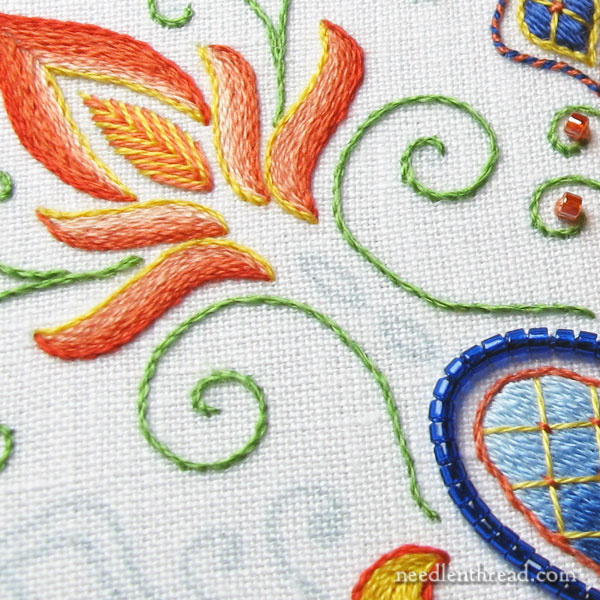
And that, my friends, is how you stitch tight, fine curly lines with the stem stitch! Shorten your stitches as you head into the curve, and keep them shorter until you reach the end of the curl.
Now, go add some pretty little stem stitch curls and tendrils to your own embroidery projects – and do it with confidence!
More Stem Stitch Tips
If you’re looking for more tips on how to use the stem stitch effectively, try these articles:
How to Stitch Sharp Corners with Stem Stitch
Stem Stitch Filling Tips
How to Stitch a Closed Circle with Stem Stitch
12 Tips for a Better Stem Stitch
Unfamiliar with the stem stitch? Here’s a video tutorial to help you learn it!
Very nice post. I am learning this type of embroidery now and I really appreciate this type of post, in which I can find tips for a better result,
I was just about to embroider 16 tight curled vines on my project and I opened my inbox to find this. I love it when that happens! Thank you for the tip!
Will you be making this pattern available sometime soon? I’m looking for a new project and this looks perfect!
Dear Mary
I also really like the stem stitch it is a very pretty stitch and is easy to use and I find it fits in with most embroidery projects. I really like the red/orange/yellow design on your project, it’s coming along nicely. Thanks for sharing your stitch tip with us and for showing us your tips and techniques on how to do curls with the stem stitch and for the links to stem stitch articles.
Regards Anita Simmance
Love it! Thanks, Mary!
Great tip. It seems like the position of the thread — on the inside or outside of the curve — could help “curve the curve”. I wonder if the thread came up below the existing stitch if it would help the curve or make it choppier. Just curious. Thanks, love your blog!
You’re right, Rebekah – if you can stitch the curve from the a left-right direction in a way that the working thread can be below the needle as you take the curve – that is, the working thread is on the inside of the curve – that does help (although you’ll still need to shorten the stitch). But sometimes, if you’re already stitching from the other direction, it doesn’t make sense to stop the thread and start a new one. So shortening the stitch will work in either case!
I love Stem Stitch and it’s my go to for outlines, stems, etc.
Um bordado lindo
Very informative! Just yesterday I was thinking that a series where you show us how to tackle some more common stitches, when doing curves or corners, angles, would be great. But I’m very grateful for what you have shown us already!!
Thanks so much for this tip! I’m glad I was able to find your post right away. And, once there, I didn’t have to wade through a lot of fluff before getting to your crystal-clear explanation.
Thanks, Lynne!