


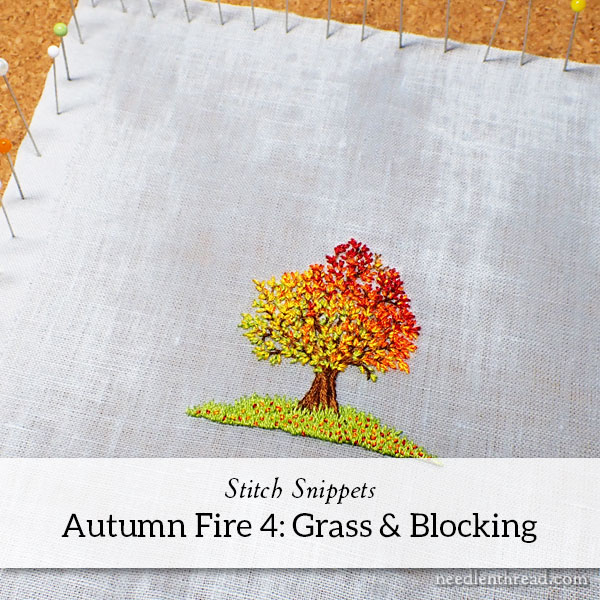
Here we are, finishing up the embroidery on Autumn Fire today! One more installment after today, and we’re finished with this little Stitch Snippet! Hurray!
If you are new to this project, you’ll find links to the previous stitch-along installments for Autumn Fire at the end of today’s article.
If you’re a member of the Needle ‘n Thread community on Patreon, the PDF this week – which will post before the end of the day on Friday, if not sooner – will include this installment plus the rest of the project to the end.
Before the project is over, I’ll also make a more permanent index for it under Tips & Techniques in the main menu on Needle ‘n Thread, where you’ll find the previous Stitch Snippets projects already available from earlier this year.
For those still wanting kits, yes! We will have more kits. We’re just waiting on one element. Remember, you can stitch the project at your own pace. The instructions will be on the blog for those who need to catch up later.
And now, we move forward to the next part of the project!
TIP: As we move into this next section, I’m going to do a Teacher Thing here and remind everyone to please read through the instructions from beginning to end before you start. In previous installments, I failed to mention this. It’s always a good idea to read through instructions first. This will prevent confusion and delays, especially if you reach out with questions that are already covered in the article. I can rarely respond immediately to email, and I always feel bad that you have to wait on a response when the information is already in the article. So please read through the whole article before you start out. Don’t rely solely on pictures. Thanks!
In today’s installment, we’re going to stitch the little hillock using the green silk – that’s C in the kit, or Soie d’Alger 2123.
You’ll use one strand of silk in the needle, and you can use either needle that came in the kit. I find that the larger needle causes the silk to spread a little more, which I like. But I also find that it makes larger holes in the fabric (obviously) and that the holes can end up being quite visible if your stitch tension is a little firm. Either needle will work, though, so pick the one that’s more comfortable. For those who aren’t working with the kit, a crewel (or “embroidery”) needle in sizes 7 through 10 will all work. 7 is larger; 10 is finer.
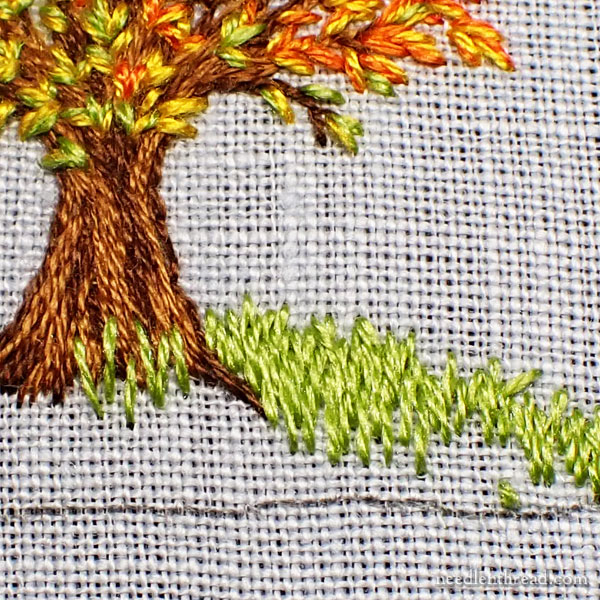
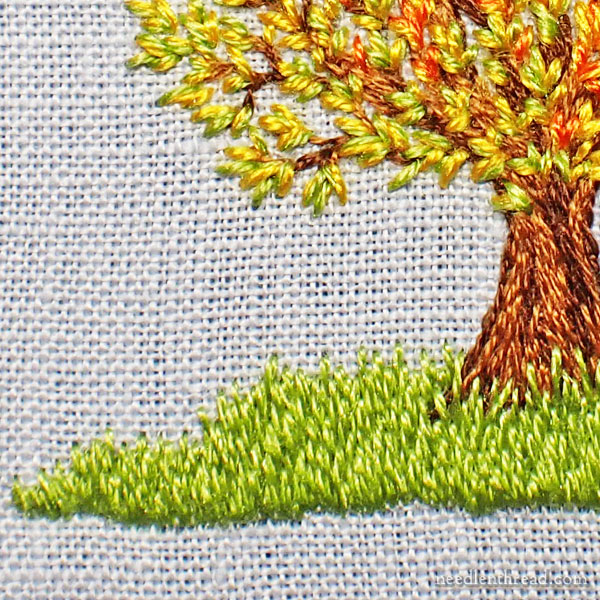
To work the grass, I used a very loosely-interpreted variation of long and short stitch. I worked rows of vertical – or just off the vertical (you can vary the slant a little to keep things from looking too rigid) straight stitches that vary in length.
I started behind the trunk of the tree where the hillock meets the tree and filled behind the root structure next to the trunk first, in various lengths of straight stitches. I also worked some straight stitches from the base of the tree trunk up into the tree trunk, as you can see in the photo above.
Moving away from the tree, work a row of varied-length straight stitches over the design line of the hillock. Start inside the hillock, with your thread on the front of the fabric, and go over the design line slightly, and pass down into the fabric.
With this stitching, try to achieve a jagged edge on the top of the hillock by varying your stitch length.
Work the straight stitches quite long, next to each other, but don’t crowd them! You don’t want to pack the stitches in. You just want them lightly lying next to each other, covering the fabric, but not overlapping each other or crowding.
The stitches are longer than you think they might be. Come up in the fabric in the top third of the hillock, and pass over the design line of the top of the hillock and down into the fabric.
When you work the next row, bring your needle to the front of the fabric about another third lower in the hillock and take the stitches down into the first row, making the placement jagged by varying the length of the stitches.
You’ll end up with about three rows in the thicker portions of the hillock, going down to about two rows, and then one row as you reach the outer edges of the hillock.
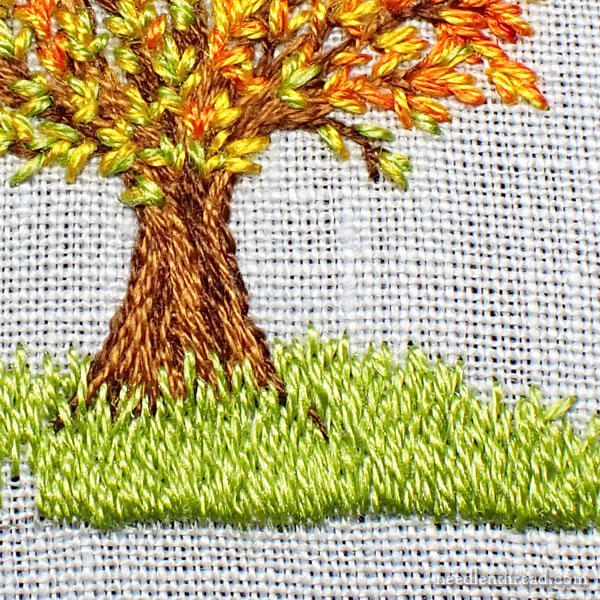
Be careful about crowding the green! It’s better to work it sketchy and light than to pack the stitches in. Besides, if you pack them in too much, you’ll run out of green silk. So go easy on this area. Go for sketchy rather than packed full.
The silk has enough spread to it that the stitches, lying next to each other, will cover the fabric adequately.
Try to leave bits of the base of the trunk and of the roots visible among the grass.
I worked one whole side of the hillock before moving on to the other side.
Don’t worry too much about a perfectly straight bottom edge of the grass. This edge will be covered by the edge of the mat.
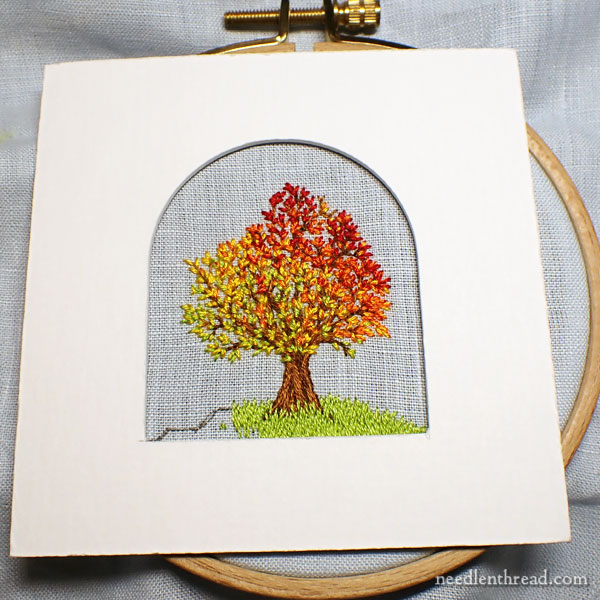
Speaking of the mat, it doesn’t hurt to lay your arch mat over the design in the hoop to make sure that the grass is extending to the side edges of the arch in a balanced way. You can make any adjustments in the design lines with your pen – just make sure that you don’t mark the mat and that you can cover the design lines with stitching.
The hillock does not have to be perfectly symmetrical. In fact, it’s ok to adjust it a little bit so that it isn’t too symmetrical.
Here’s the second side of the hillock finished.
When it comes to real long and short stitch, if you’re wanting to blend colors and create really smooth layers of stitches, you’d normally come up into the previous row of stitching, splitting the stitches. In this case, though, it makes more sense to split down into the previous row of stitches as you move closer to the eye of the viewer. Even though the tree and the hillock are not absolutely realistic, in a realistic view of things, the grass closer to the viewer’s eye would seem to layer, in a sense, on top of the grass behind it. Splitting down into the previous rows of stitches works better to achieve a sense of this visual spacing.
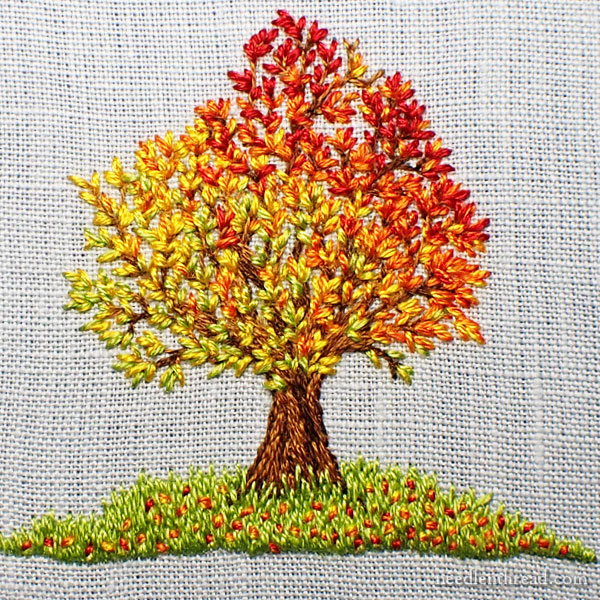
When you’re finished with the hillock, go back to the leaf color combinations. Using yellow-orange, orange-red, and yellow-red combinations, scatter small straight-stitch leaves over the grass.
Mix up the colors for variety.
Make sure that your straight stitches (which are small!) are randomly situated at different angles. Try to avoid any precisely vertical or precisely horizontal straight-stitch leaves here, as the eye will be drawn to anything that’s “too straight” when working this type of scattered stitching.
Voilá! You are finished with the embroidery!
Block & Damp Stretch
Now, it’s time to damp stretch the embroidery and block it, to make it ready for framing.
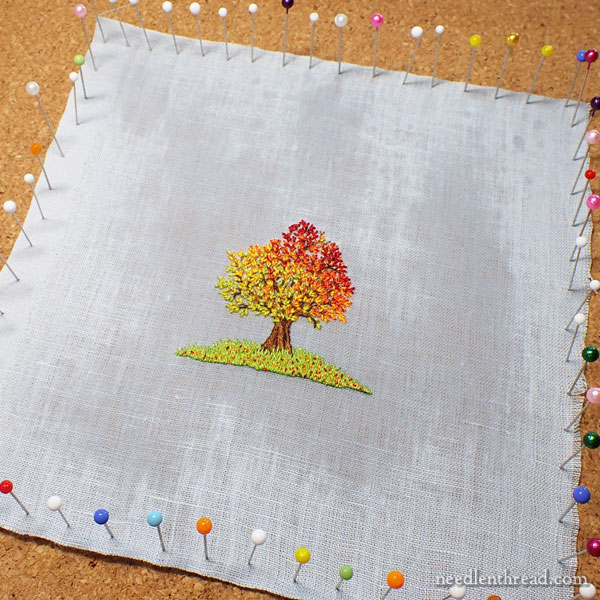
To damp stretch, you’ll need some pins and a cork board or something similar to pin your embroidery onto. Some folks use their ironing board cover, if you have one that’s padded and tight. I like cork boards, and I keep a stack of 1/2″ cork tiles (12″ square) for this purpose.
Pin the embroidery all around, starting in the center of one edge and pinning out from the center of that edge to the side. Then, go back to center of that edge and pin the rest of the edge to the other side.
In the same manner, pin the opposite edge to the one you just finished, making sure that the fabric is straight and pulling it just slightly so it’s somewhat taut, but not too taut. (It will shrink a little as it dries.)
Then, do the remaining two sides that are opposite to each other in the same manner.
Lightly mist the whole thing with water, using a spray bottle. Don’t saturate it. You just want a very gentle mist on the fabric. Let it dry completely before removing the pins.
You can find instructions for damp stretching and blocking in these two articles:
Damp Stretching & Blocking Embroidery
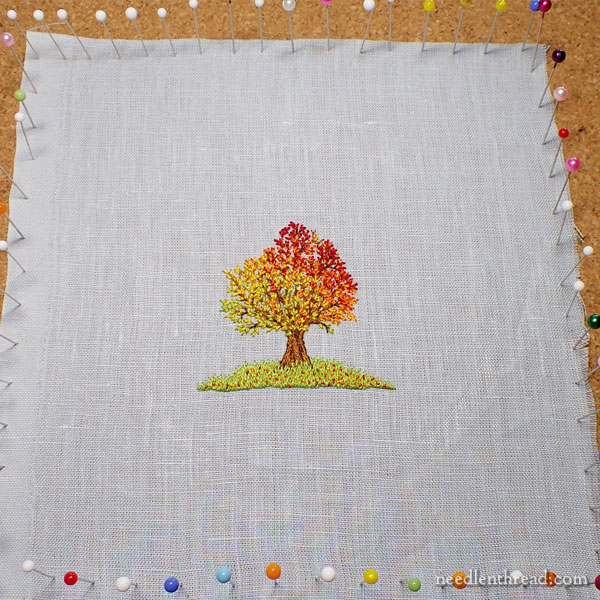
Damp stretching is a rather magical process. It should remove all wrinkles and your fabric should be nice and straight and taut when it is dry. This is a crucial step for preparing a piece of embroidery for framing. Don’t skip it!
Now you’re ready to frame your little tree. Yay! We will do that early next week.
Previous Installments
Here are the previous installments in this stitch-along, in chronological order:
Autumn Fire 1: Preliminaries & Design
Autumn Fire 2: Transfer & Trunk
For members on Patreon, the numbering on the lessons is slightly different. The first post is simply the design and it isn’t numbered. Lesson 1 is the transfer & trunk, Lesson 2 is leaves and color, and Lesson 3 (posting before the end of the day on Friday) will be the rest of the project, including this lesson and the next lesson on framing.
I’m looking forward to finishing this project up with you next week! We’ve been working on the next Stitch Snippet, pulling together the finishing supplies for it, and that will launch in early November. Whew! I wasn’t sure we’d be able to get the fourth one out, but it looks like all will go as planned.
We’re also going to be in the throes of moving the studio – talk about an adventure! I’ll keep you posted!
Leave A Comment