I’ve been doing a bit of autumn-esque stitching this weekend!
This is one of Those Projects I’ve had drawn up for a while, but I’ve just gotten around to the embroidery.
Perfect timing, though – it’s still very much autumn here in Kansas. We’ve had gorgeous sunny days, perfect for sitting on the porch in bright sunlight, which is my favorite type of lighting for embroidery!
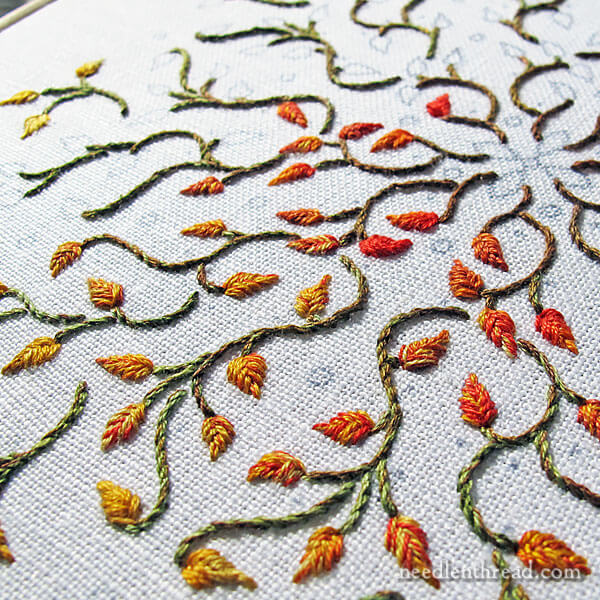
I have a couple little surprises in store for this piece.
For example, I’m going to bling it up a bit! I’m playing with the notion of adding a few beads here and there, for a bit of sparkle and color.
I’m never opposed to a little sparkle and color. I think I’m part crow!
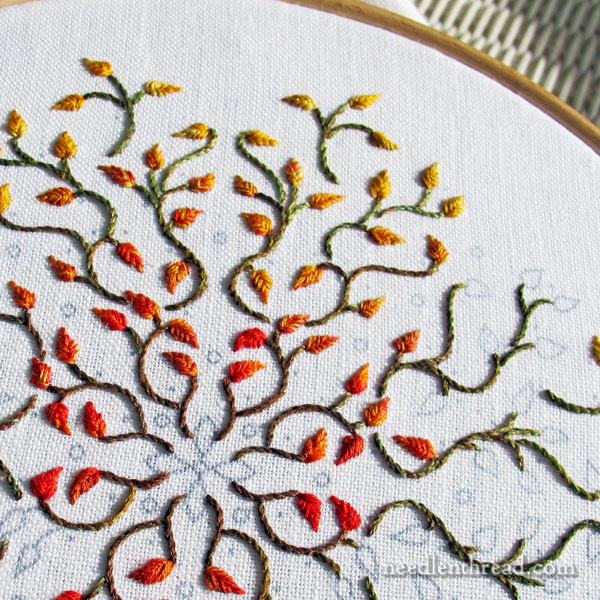
The stitches on this piece are relatively simple, but it’s the color combinations that take a little time and concentration.
Over on my Facebook page, Sheila asked how I skip from leaf to leaf on this – whether or not I end off each leaf or carry the thread over on the back.
Traveling the Thread from Leaf to Leaf
I tend not to carry threads across open spaces on the back of work. Instead, one a piece like this, I use the previously stitched tendrils as “thread anchors,” using them to “travel” my thread to my next leaf.
I work the leaves in specific areas, according to color. To travel from leaf to leaf, I turn my work over and whip the threads around the back of the tendril stitches, until I arrive at the next leaf in a particular cluster.
If there’s not a leaf of the same color scheme close by and attached by a tendril, I end the thread and start anew on the next leaf. This keeps the back relatively tidy.
The leaves are quite tiny, no more than about 1/4″ in length, and the color changes are fairly frequent, to keep the gradual change in shades. So I can’t always travel my thread on the back. But trust me, when the opportunity is there, I take it!
Conserving Thread
If you’re keen to conserve thread, gauging how much thread you’ll use if you “travel” under other stitches on the back of the work is a good idea. If it matters to you, take some time to consider whether or not you’ll use more thread traveling under the stitches on the back, or stopping and starting a new thread.
This is definitely something that’s individual to the stitcher, though. Some embroiderers absolutely hate stopping a thread and starting a new one, and will do whatever it takes to avoid that, even if it means using significantly more thread!
But others don’t mind multiple stops and starts at all. I fall into this latter camp. If I see that it’s going to cost me significantly more thread to travel from one leaf to the next on the back of the work, I’ll end my thread and start again on the distant leaf.
If you want to read more about traveling threads from one area to another, especially to keep the back tidy and to save time, and see the whole process worked out in photos, Lesson 2 of my series on Hand Embroidered Lettering and Text covers the topic. You can apply the concept to any kind of embroidery, really.
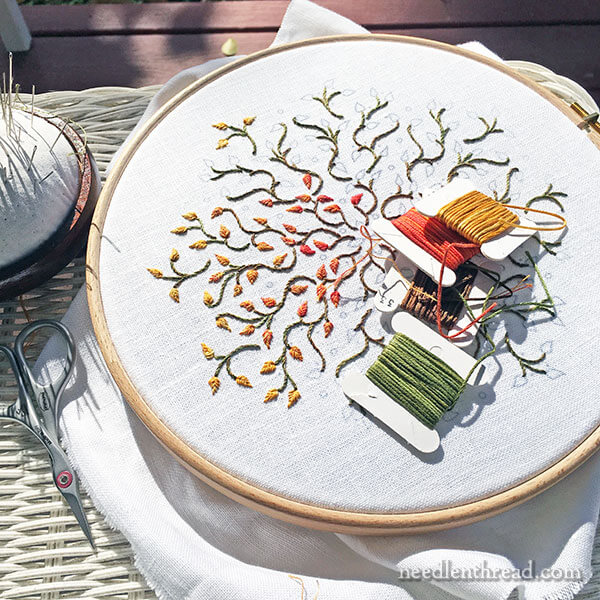
The threads on this project are relatively new-to-me. I’m loving them! I’ve used them once or twice before, but now I’m exploring them in-depth. We’ll be chatting about them a little later, so if you’re a Thread Junkie and you want to hear more about them, keep an eye out!
Deep down, in the secret recesses of my heart, I was planning to avoid Real Life today and finish this piece while basking once more in the brilliant autumn sunshine on my front porch.
Of course it’s raining!
Have a jolly Monday!
Octoberfest! Pattern & Stitch Guide
Would you like to stitch up your own leafy kaleidoscope?
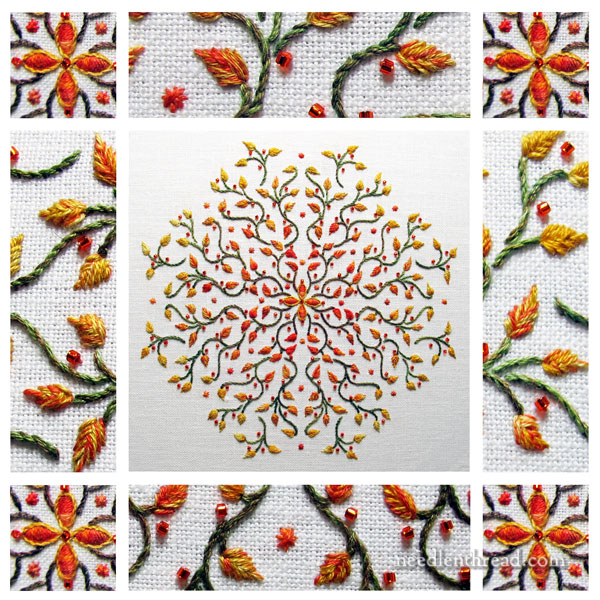
You can find the pattern and stitch guide for Octoberfest available here! In the stitch guide, you’ll learn how to combine threads and work with overdyed threads to achieve gradual color changes.
The design is suitable for beginners and beyond! So jump on over, order yours, and start stitching it today!
Looking for More Kaleidoscope Embroidery Designs?
Favorite Kaleidoscopes is a collection of over 30 kaleidoscope patterns for embroidery and other crafts.
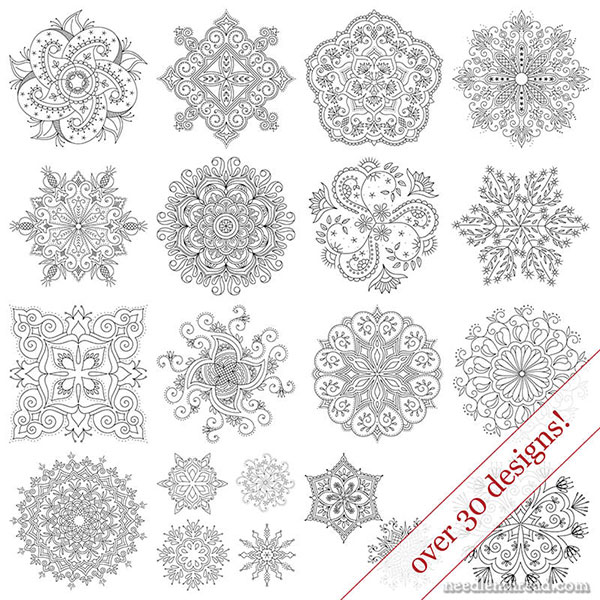
In it, you’ll find the patterns for several other kaleidoscopes I’ve covered here on Needle ‘n Thread, including Birthday Bash, Tulip Festival and Party in Provence.
The kaleidoscope designs range from small 4″ designs to large 8″ designs, from simple to complex. You can read about the collection in detail here, or jump straight over to my shop to grab your own copy!


I would like to hear about the threads. Looking forward to hearing about them.
Good morning Mary! Oh, I love your tree!
I wish I could draw free hand like that and have it come out looking so nice!
Thread traveling is such a temptation! Glad when I fight the urge to do so!
Ever want to give a lesson in drawing that tree that would be great!
I would love to be able to use this pattern if you release it! Lovely!
I hate stopping and starting so I tend to travel a bit under but never over very long distances because I hate wasting thread 😛 But, if the thread is really expensive I think I would overcome my dislike of stopping and starting to save it.
Just wondering which thread you’re using. Perhaps DMC Variations? I don’t remember an orange that vivid in the collection. But I probably don’t own every one just yet. 🙂
Thread info coming soon! 🙂
Stitching tiny leaves in perfect colors is The Best to avoid “real life!” Wishing you a cozy corner out of the rain where you can do just that, Mary!
Dear Mary
It looks a lovely project and beautiful stitching with all those different Autumn colours spread across the project so pretty. Like you I tend to carry my threads but avoid thread carrying over long distances, I don’t like stopping and starting threads. I can’t wait to hear about the new thread you are using and the stitches used for your leafy project. Thanks for sharing your leafy project with us and for the photos and links on thread carrying.
Regards Anita Simmance
I find myself constantly judging how much thread would be ‘wasted’ by travelling vs starting/stopping, and if I travel, will it be hidden (or anchored by other stitches over it later). But the flip side of the coin is how much hassle will it be to end a thread vs travel (especially near the edge of a hoop/qsnaps).
My major dilemma is how to do french knots in the middle of nowhere in a dark color on light fabric…there is nothing to anchor to, and traveling will show. My solution usually is beads with a light colored thread and travel the thread. Any tips for spaced out french knots?
What a gorgeous design! And with color changes, it could be used for a three-season, maybe four-season, set of — something. (Not sure how to do a winter look, except snowflakes.)
What a lovely idea. Perhaps winter could be the bare branches with something like one little brown curled leaf left and some “ice crystals” (beading?, silver thread?) in place of leaves? Need some brainstorming on this, but I think it would be lovely to do as a seasonal series.
Is this leaf tendril pattern your creation? I would love to try stitching something like this. Is it available?
Love reading Needlnthread. I’m always inspired and challenged. Thank you!
Hi, Cyndie – Yes, I drew it…Once it’s finished, I’ll have a better idea of how I’m going to make it available. I want to work through the whole thing first, to see where it goes and work out any little kinks. ~MC
This is such a beautiful pattern. I love it! Looking forward to seeing the completed project, and hearing about those threads. Thank you! Jeannie
I also do this when stitching leaves – or anything else that works similarly. Not only do I think it generally uses the same or less thread, I figure just the fact that the thread is continuous means there is less chance of the thread ever working it’s way loose or out.
I had not heard about waste knots to start one’s work until I joined EGA about 20 years ago. I instead have always left a very short tail when starting. I then work it back and forth on the back as stitches come to the back and then head back to the front (pull it left, put the back part of the stitch over it, next time pull it right, etc.), so that the thread tail is woven in as I am stitching. With kits that come with thread there is often not enough thread to waste on making a waste know away from where one is working and my system has worked well. If the area for a new thread is touching an area already stitched, I may start the new thread in the back of the already stitched area. I have never had a thread started in this latter matter show through to the front.
This is just gorgeous!
Thanks, Kristen! Glad you like it!
LOVE love love this!
This is just lovely. Can you please tell me what technique you used to transfer the design?
A day late and a $ short I guess, but still, I’ll comment. LOL. Been under the weather with the flu and my computer has been “ill” as well so a number of days to catch up on… It was rainy here as well, but we need it. Not enough came down unfortunately, and today is a lovely, tho a bit chilly, day. Sunny and cheerful. What a sweet piece Mary. Hoping today is warmer for you and sunny and you can just take a day and enjoy that porch.
I love your work. As to this one – it is so simple to stitch and yet it is so beautiful.
And thank you for your tips as to traveling the thread from leaf to leaf. Until now I used to cut them and start a new one .
Hello Mary,I am Kirti from India, Thank you very very much for your blog.I have learned so much from your posts and videos,cant thank you enough, You are just great!Would like to meet all my embroidery and cooking teachers from the web world in person some day and express my heartfelt thanks to each one of you, from Japan to Mexico! Hope I can pass on the knowledge you have shared to more people.