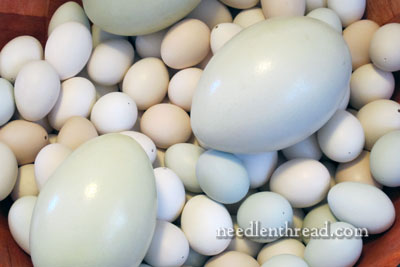
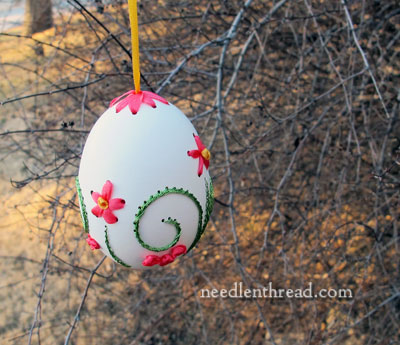
November 3, 2012
Favorite Transfer Methods for Embroidery Designs
To conclude this short series of posts on transferring embroidery designs to fabric, here (in one place) are my favorite methods of design transfer.
Again (I keep making this point – covering my “six,” as my dad would say!), I am not saying these are the Only Ways to transfer embroidery designs. But these are methods that have been safe and reliable for me, that I’ve used and have confidence in. For those who are looking for alternate ways to transfer embroidery designs, these may help you. If you already have a method and it works for you, then that’s great. I’m not dismissing all other methods. As is always the case on Needle ‘n Thread, I’m just offering what works for me, and how I do things, in case it may help someone else out there.
Note: always test your transfer method ahead of time on any major project, before you start marking up an expensive piece of ground fabric.
To determine what type of method to use, I always think in terms of the end product. Is the project meant to be washed? After I finish stitching it, can it be washed? If so, I proceed in one direction. If not, I proceed in another.
Embroidery that Can Be Washed
If I’m working on a project that can and will be washed after stitching – say, whitework on linen, regular cotton floss on cotton fabric or on linen, even wool on linen – then these are the methods I use for transferring the design.
Light, easily see-through fabric: After my fabric is washed (pre-shrunk) and cut and the edges are neatened, I spray starch the fabric and iron it. I like Niagara spray starch in the pump bottle rather than aerosol cans, personally, but I doubt the kind used really matters.
Then, using a sharpened HB pencil, I trace the design using a light box or a piece of plexiglass with utility lights underneath it, depending on the size of the project.
